

iPad Lettering for Beginners
/Learn the basics of how you can get started with learning to letter on your iPad!
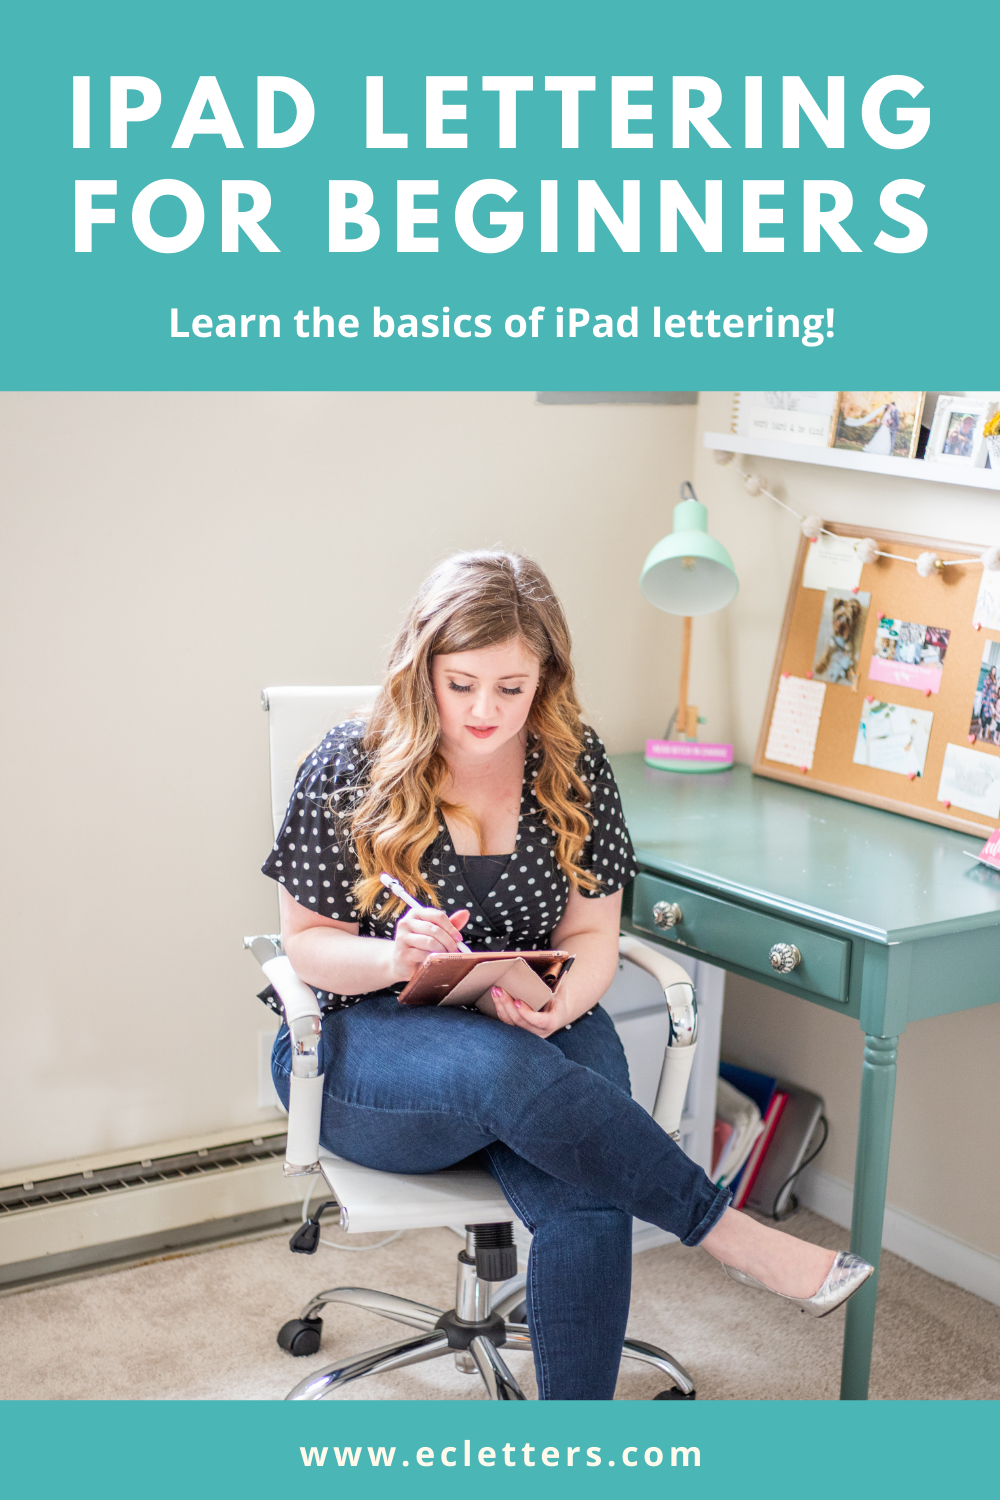
iPad lettering is a fun and relaxing way to get creative! Whether you already love to letter or want to learn and doodle, it’s a great way to unwind. I use it nearly daily for my business as well as just for fun! Read about why I love lettering on my iPad.

What You Need
iPad: Many different iPads will work - it just needs to be compatible with the Apple Pencil!
Click here to check if the model you want is compatible. Mine is the 9.7” iPad Pro, purchased in 2017!
Apple Pencil: You can pick from the first generation or second generation! They are really similar performance-wise, but with a few key differences. The first generation is completely round and plugs into your iPad / a charger whereas the second generation has a flat edge that is magnetic to your iPad, keeping it from rolling off and charging it at the same time! Again, just make sure the pencil and iPad you purchase are compatible!
I use the first generation pencil and my only complaint is the tiny cap can be hard to keep track of. I got a little connector to keep it from getting lost!
Procreate app: This is the app where all the magic happens! It costs $10 in the app store (a one-time cost).
Let’s Get Started!
First things first - download the Procreate app and make sure your iPad and Apple Pencil are charged up and ready to go!
Choose Your Brush
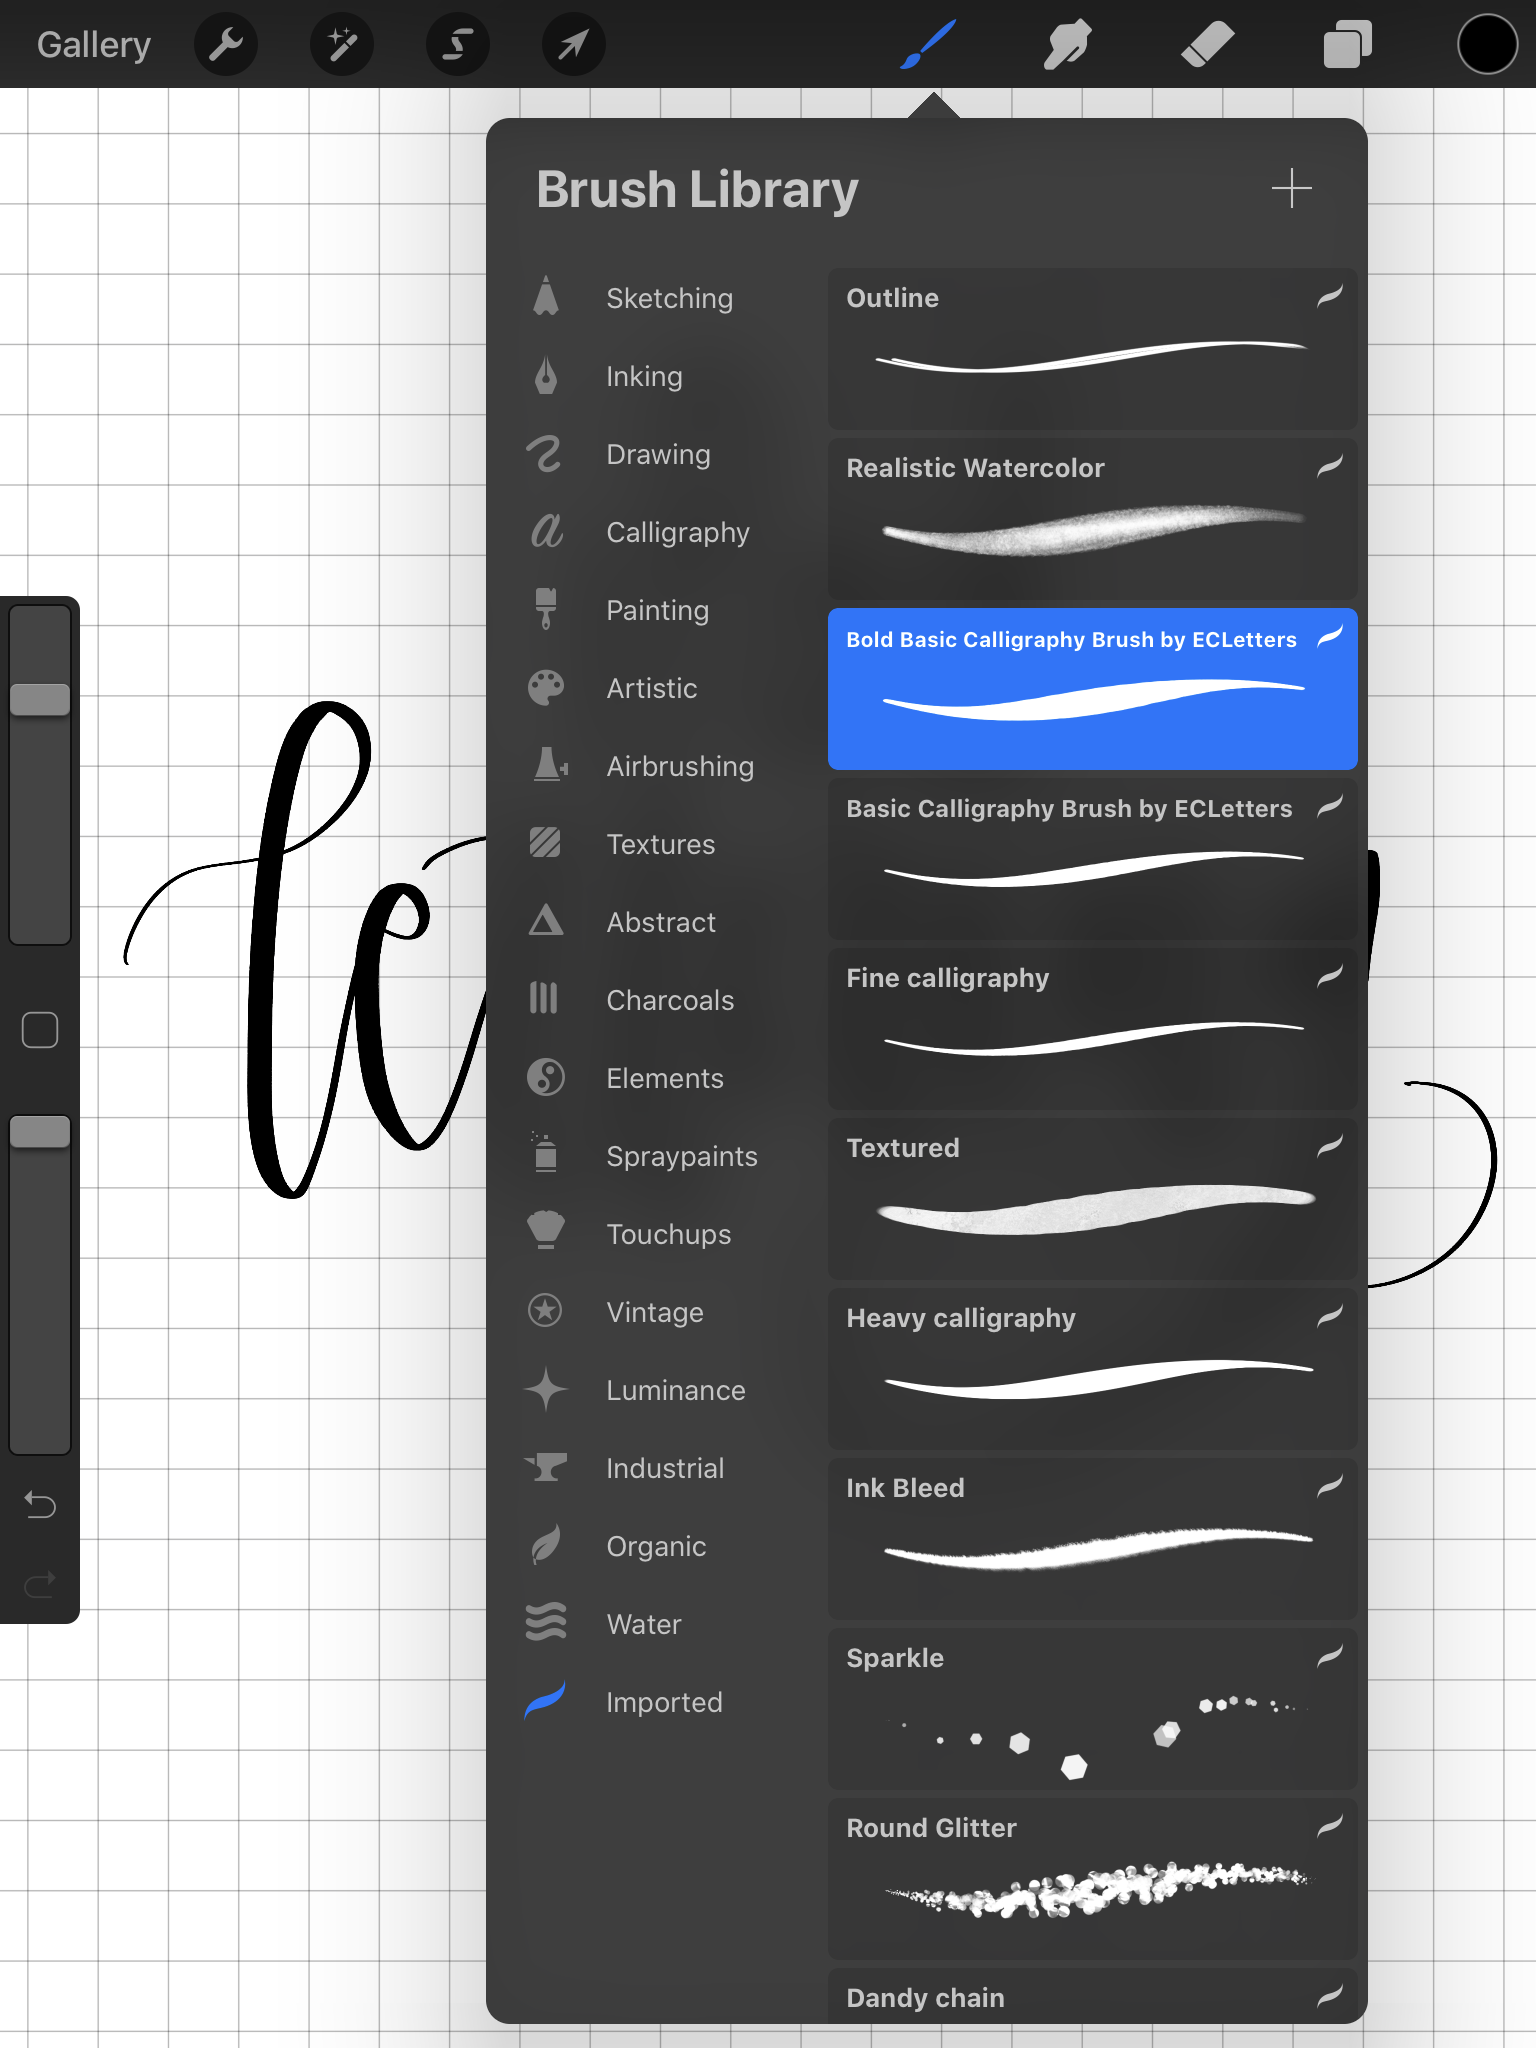
On the Procreate app, there are several brushes built into the app that you can use! You can also download additional brushes (from Etsy or for free download, depending on the brush you want!) and add them to your brush library. There are several different categories: painting, airbrushing, drawing, etc. Try a bunch of different brushes out to see what you like! Personally, I don’t care for the calligraphy-style brushes that come with the app for most of my lettering, but the other brushes can be used to make backgrounds, textures, add detail and more! Play around and get creative!
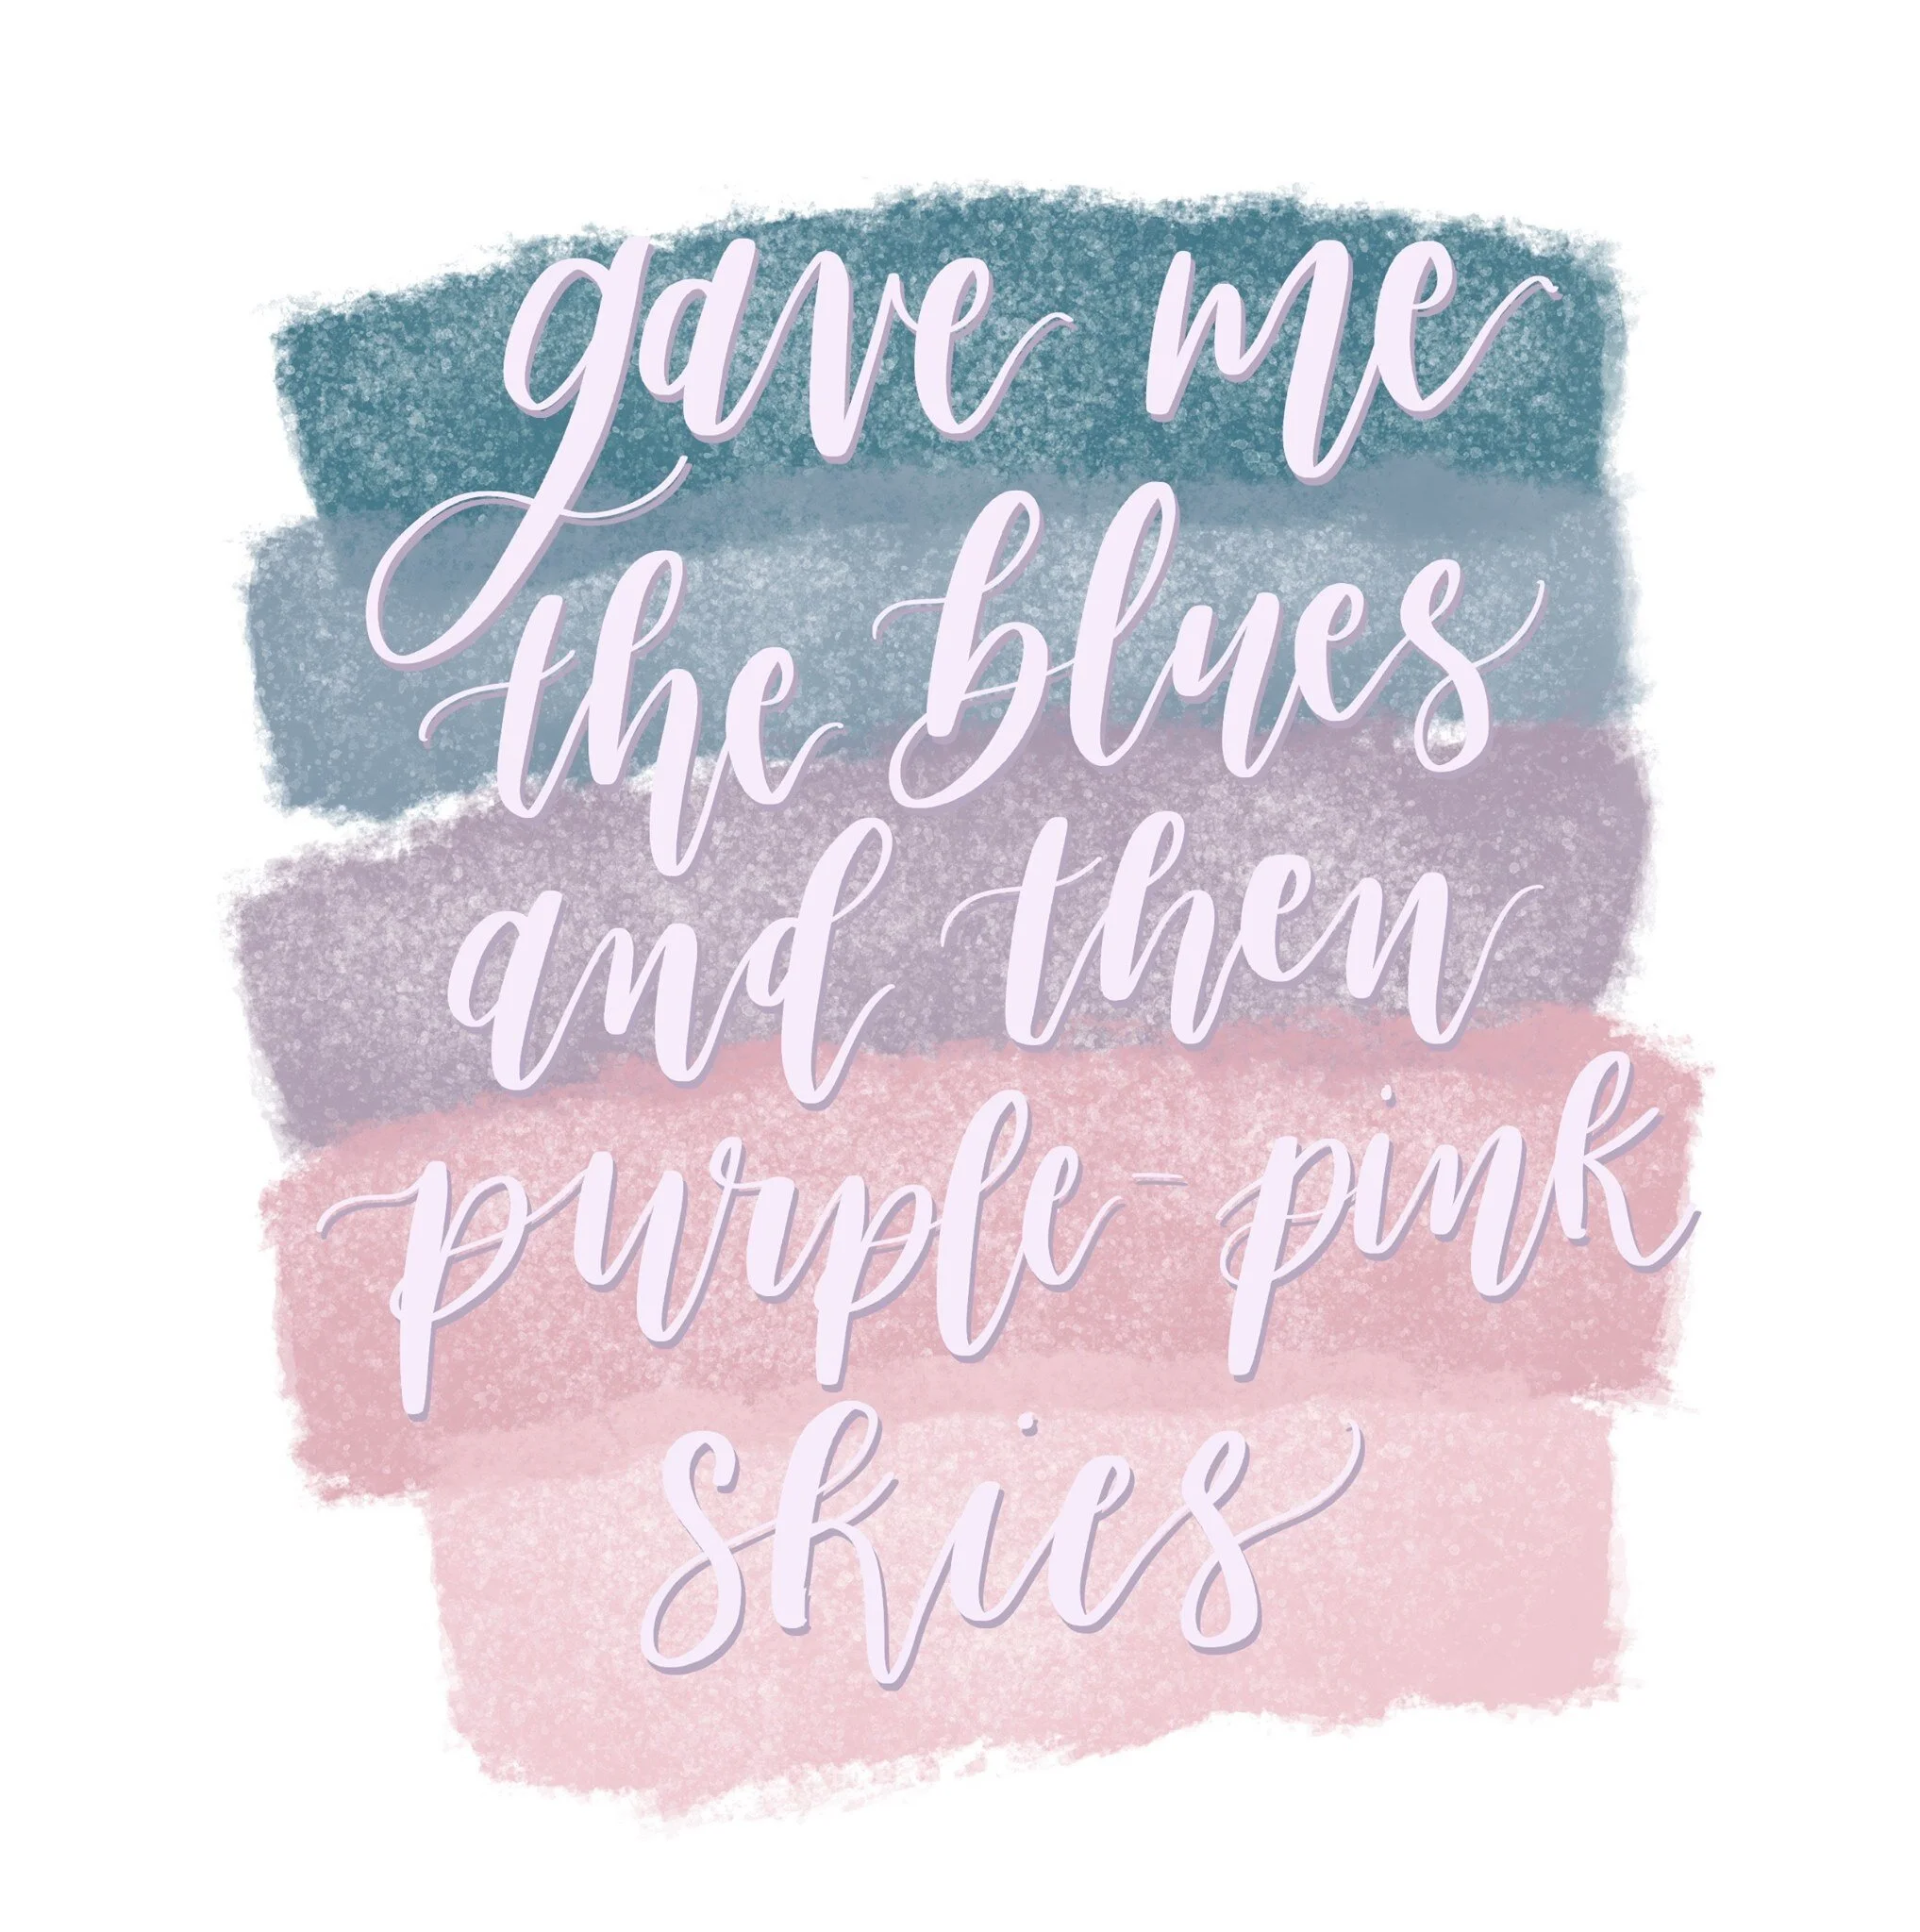
For lettering, the brush you use is key! Like calligraphy on paper, it’s all about the pressure to create thick downstrokes and thin upstrokes. To get that calligraphy letter look, make sure you are using a pressure-sensitive brush.
Free Brushes
Monoline - comes with Procreate under Calligraphy. This is perfect for any print lettering to pair with your calligraphy!
Technical Pencil - comes with Procreate under Sketching. Great for sketching out a design!
Soft Blend - comes with Procreate under Airbrushing. Make a pretty background using this!
A great resource for iPad lettering is the aptly named iPadLettering! Check out her collection of free Procreate brushes!
Brushes to Purchase
My basic calligraphy brush: This is your go-to! It creates thin upstrokes and thick downstrokes for a realistic calligraphy look. For a bolder look, try my bold calligraphy brush!

Realistic watercolor brush from Saffron Avenue: This is a really great brush to get an actually realistic watercolor look! Highly recommend!
Any brushes you download will need to be imported into your Procreate app, where it will show up under your Imported Brushes tab under Brushes. If you purchase a brush on Etsy, simply open it on your iPad and it will automatically open in Procreate!
Tips for Writing
When you’re writing with your Apple Pencil, you’ll need to use pressure - but very little! As you write, you’ll apply pressure to create thick downstrokes and lighten up on the pressure to create thin upstrokes.
Read more about upstrokes and downstrokes!
Pressing too hard can mess up your screen and the tip of your pencil, so don’t overdo it! Once you try it out, you’ll get the hang of it!
Try out a bunch of different brushes to see what you like and what works for you! Over time, you’ll find that you might gravitate towards certain brushes for certain projects or certain looks / textures you want to achieve.
Make your brush bigger or smaller using the top toggle on the left side
Adjust the opacity by using the bottom toggle on the left side

Change the color using the color palette in the upper right corner
You can create your own color palettes, or purchase pre-made ones! More on this in a future post. Check out my color palettes on Etsy!

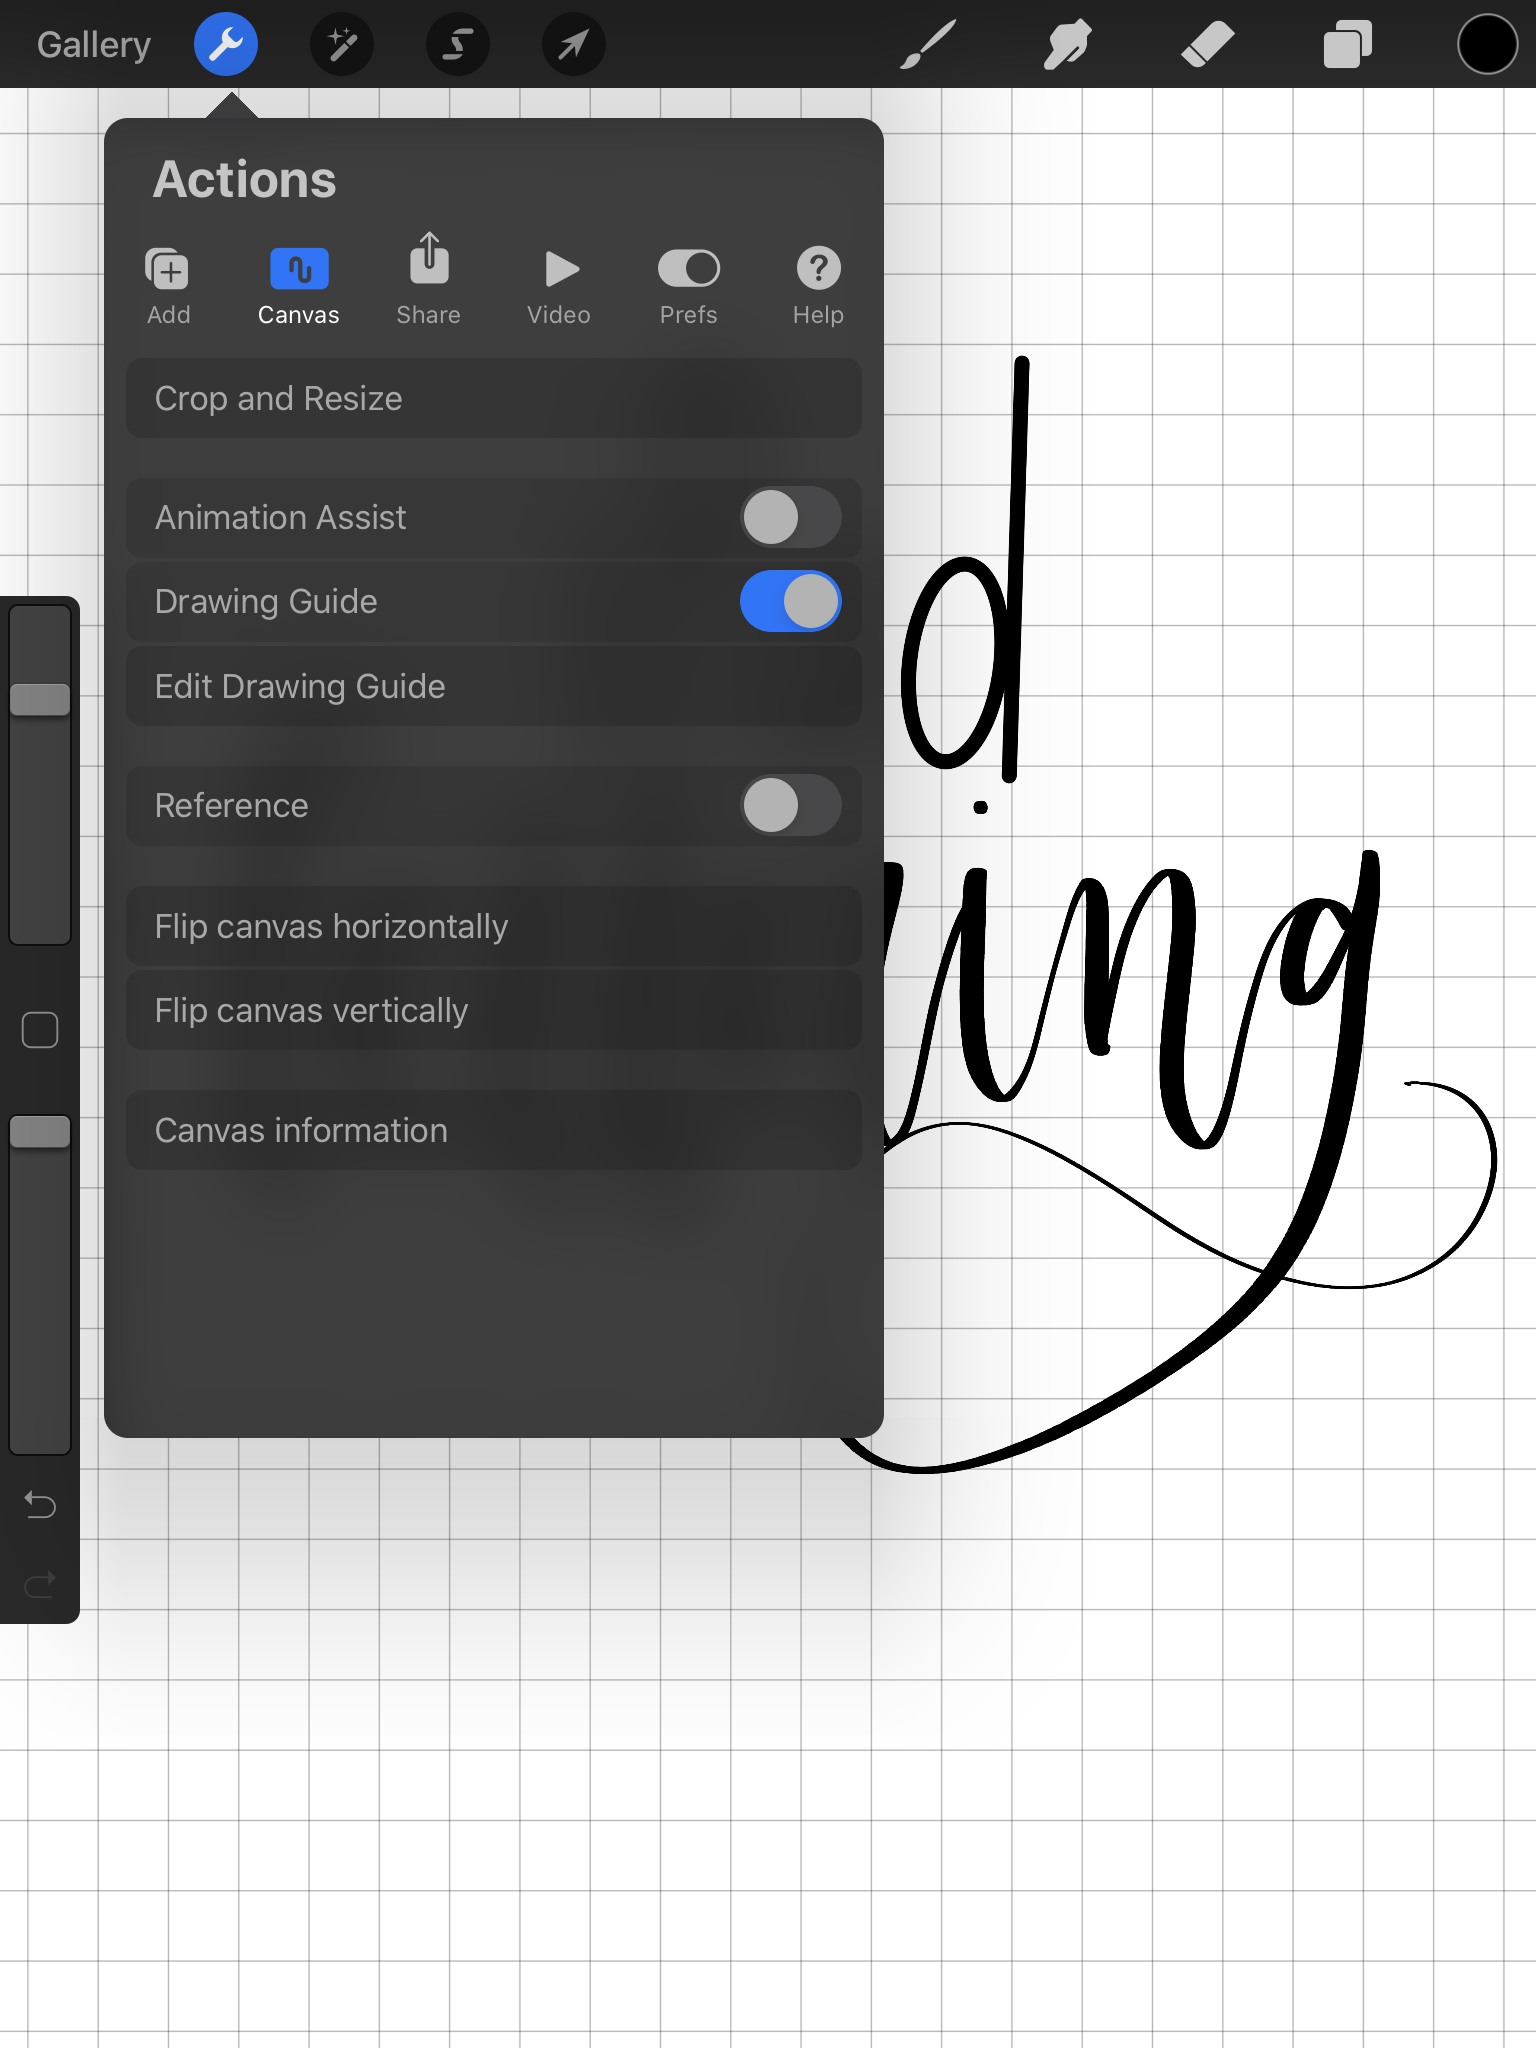
Go to the wrench on the top and then Drawing Guide to add a grid to help you line up your lettering!
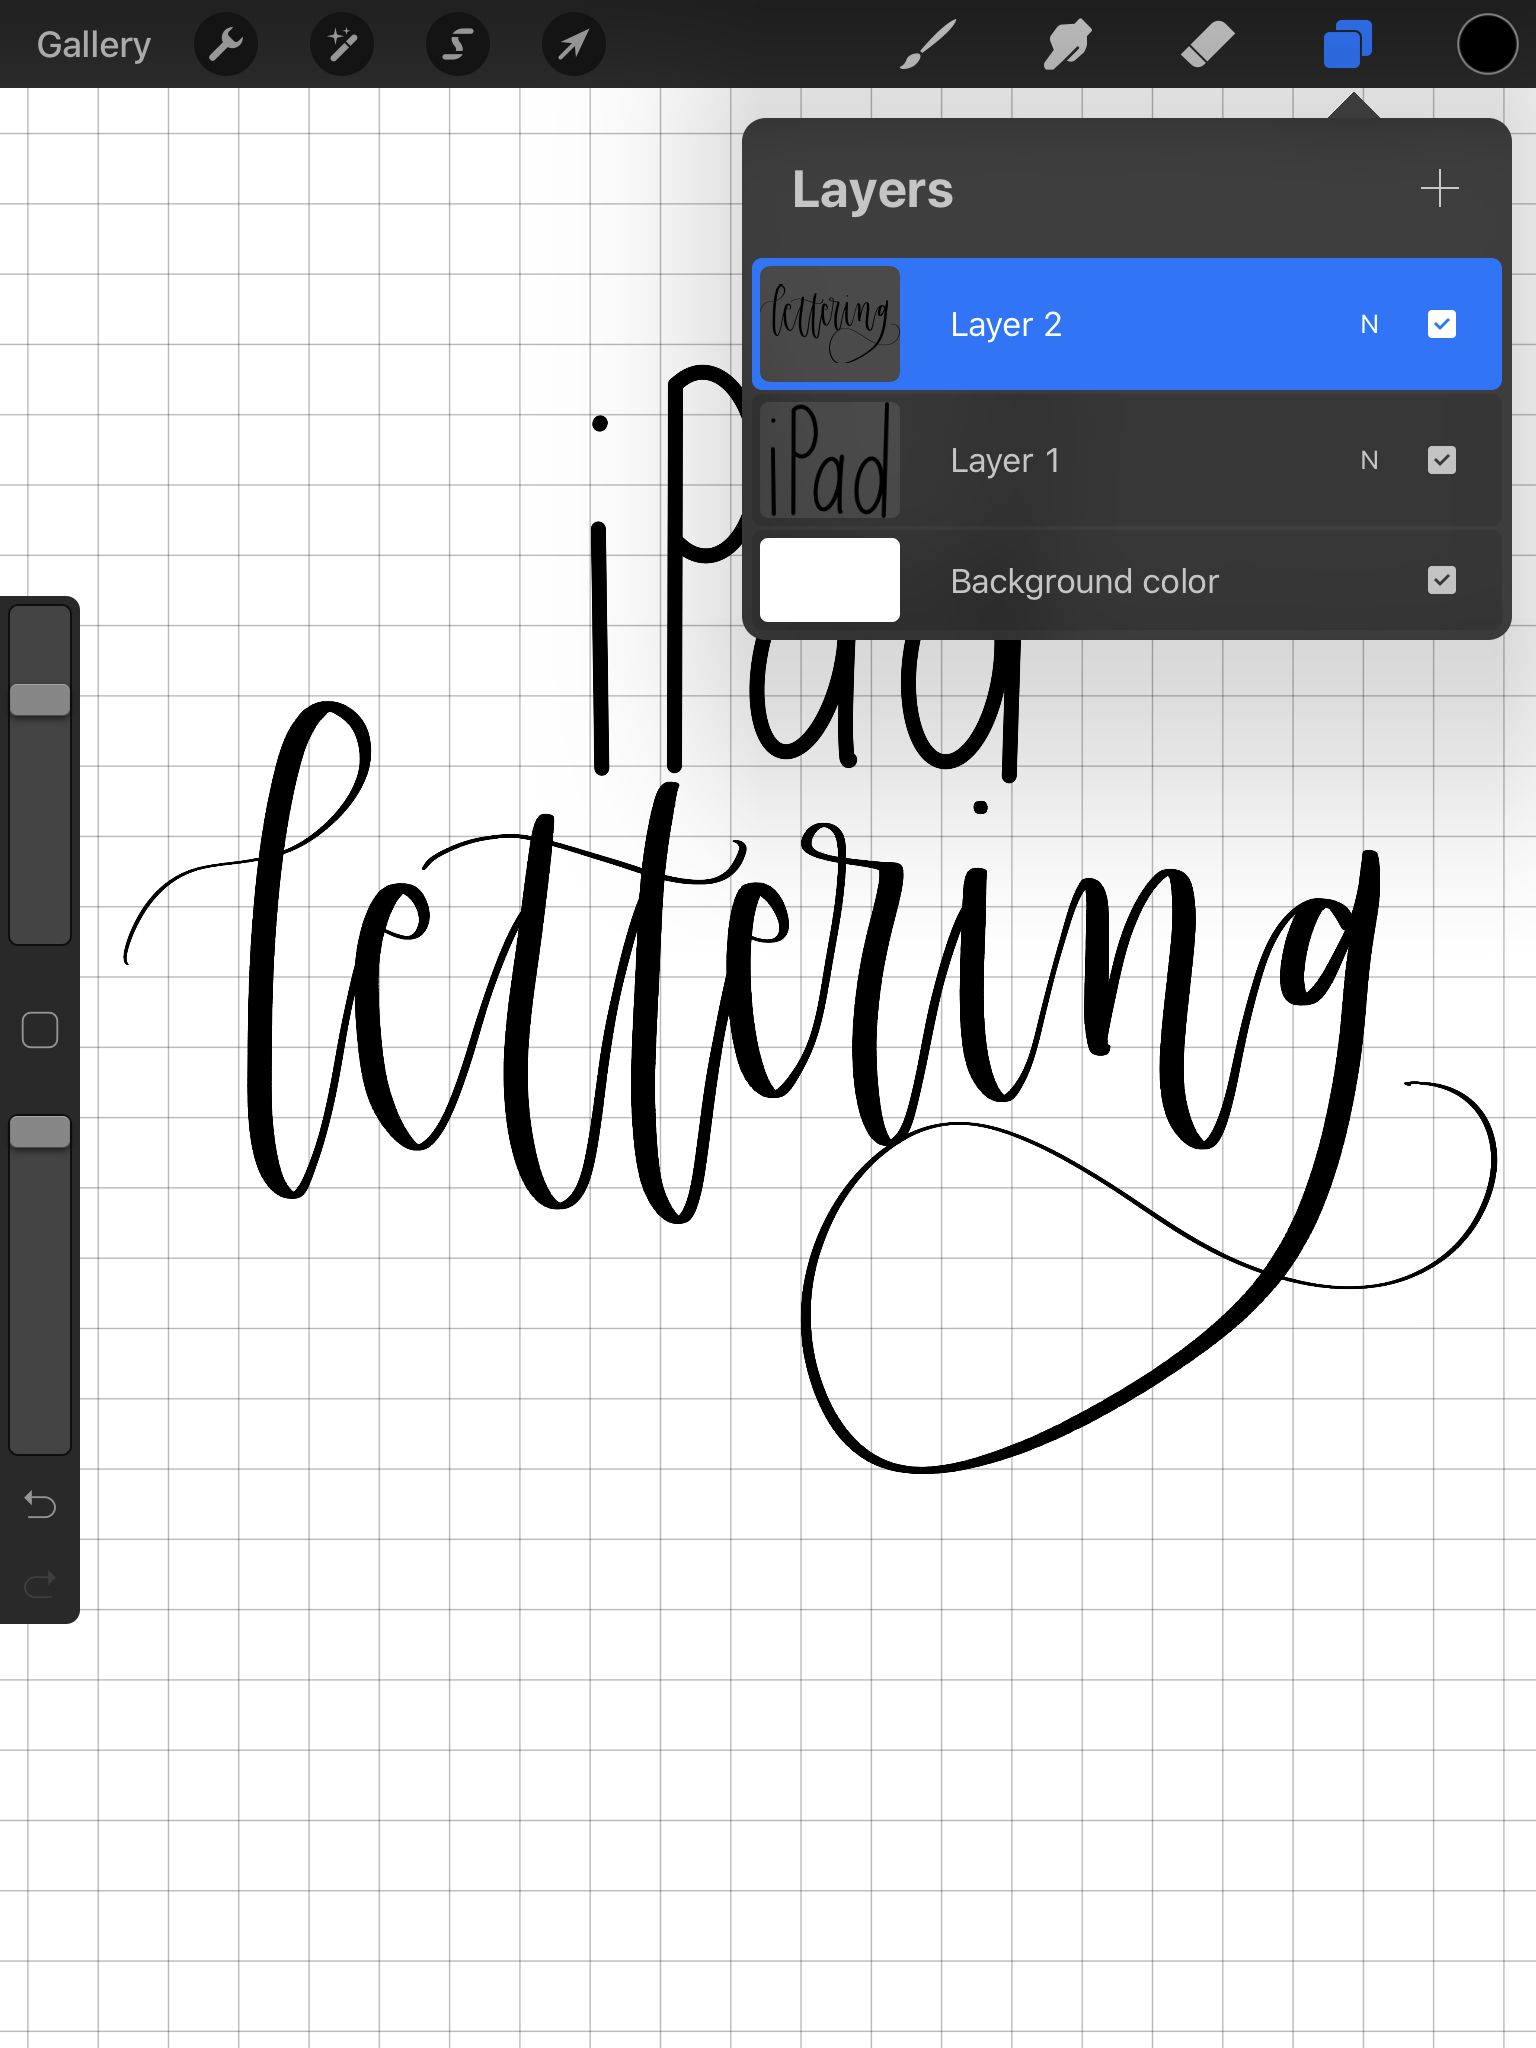
Layers
The two boxes on the upper right corner are your Layers tab! If you create a new layer to write different words or different parts of your design, you can isolate those to move them around, change the size or change the color.
You can also change the background color on this tab!
There’s a ton that you can do and play around with - but this is a basic overview of how to get started!
What else do you want to know about iPad lettering? Let me know!


Please note: this post contains affiliate links. If you make a purchase, I may receive a small commission at no additional cost to you!


