

How to Make a DIY Styling Board
/Learn how to easily make your own background for gorgeous detail shots or product photography.
Do you ever try to take pictures of products for your Etsy shop and you just can’t get a consistent background for them? Maybe you’re shooting detail shots for your website or social media and there isn’t a good background around your house that you can use. Whether you’re a maker who sells products, a photographer who photographs details or an influencer who wants a cohesive social media feed, a styling board is an easy way to give your photos a beautiful backdrop.
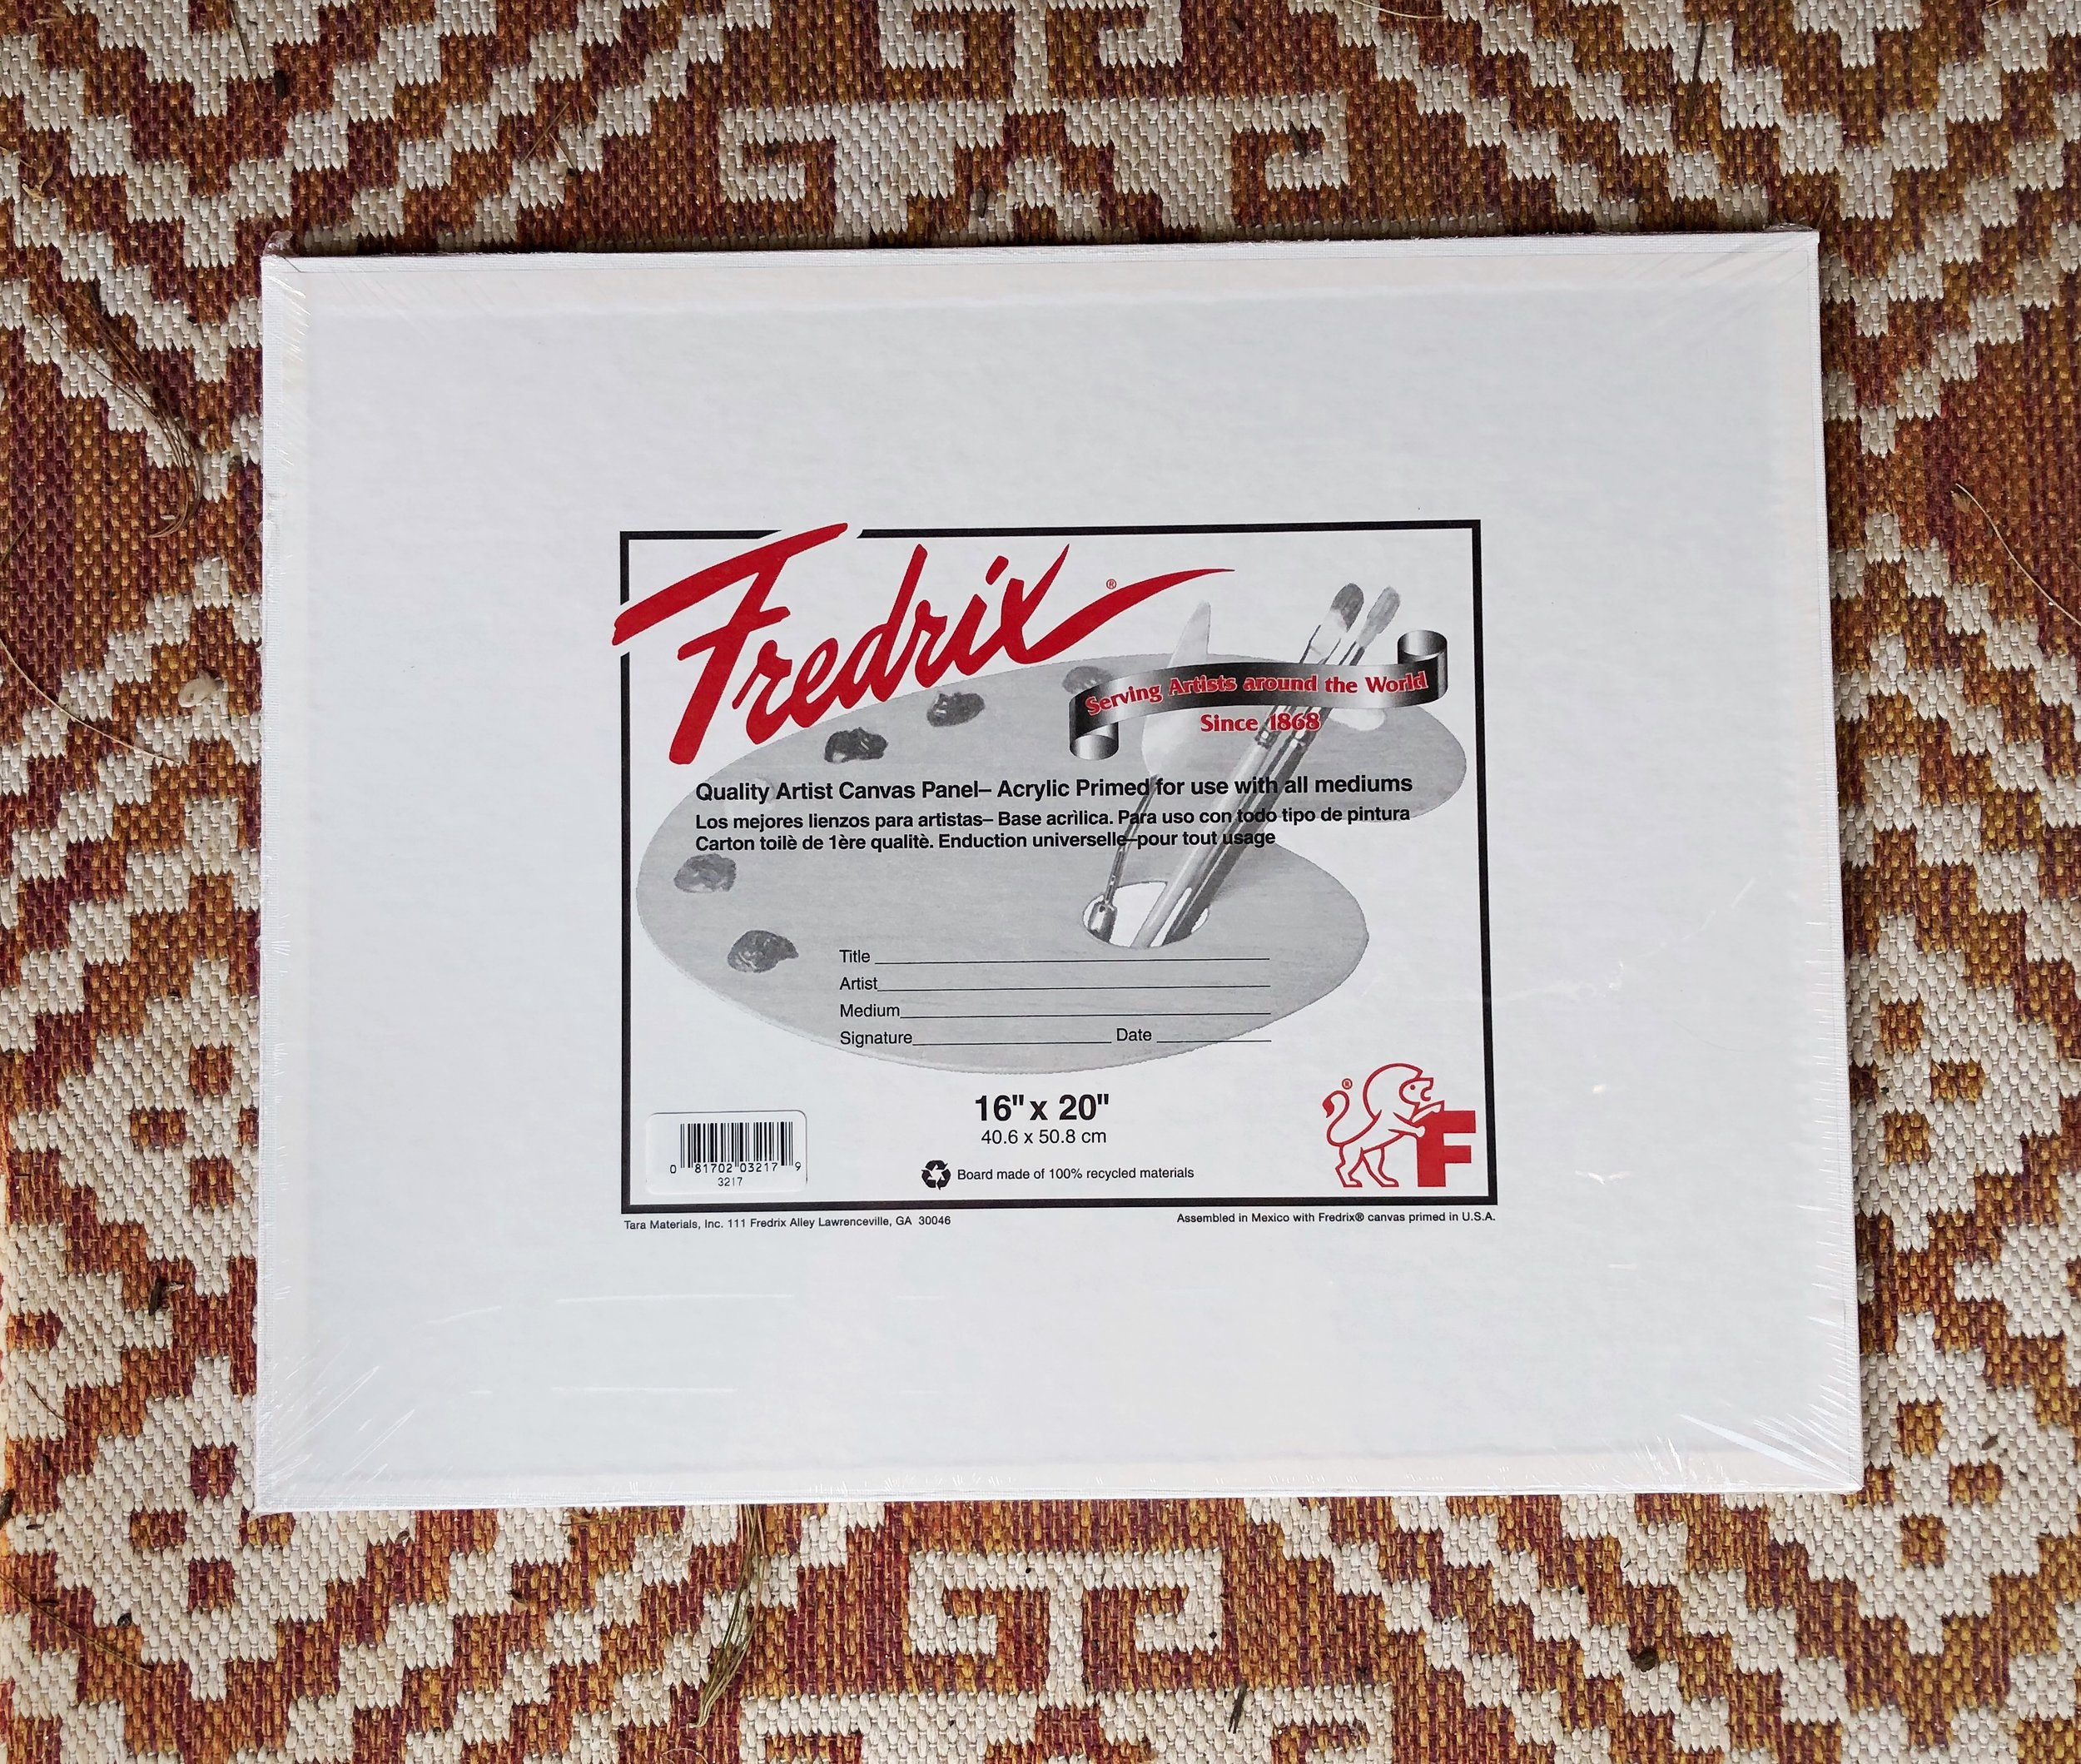
I made myself one of these a while back using a piece of cardboard and spackle, but it did not hold up very well & started bending. I wanted to make something sturdier and found this set of 3 thin canvases on Amazon which was perfect for what I wanted it for - they are 16x20”, so they’re a decently large size, but they’re not so big that I can’t store them easily or carry them around the house to where the best light is!
Since the pack came with 3 canvases, I decided to make 2 textured styling boards and one fabric one. Let’s start with the textured boards!
Textured Styling Board Instructions
To make these, I used the following supplies:
Here’s another option for a smaller size
Spackle (Is that the right term? I bought 2 of these but only ended up using 1)
A putty knife to spread the spackle around
Paint - I used Martha Stewart brand from Michael’s, but you could use any acrylic paint

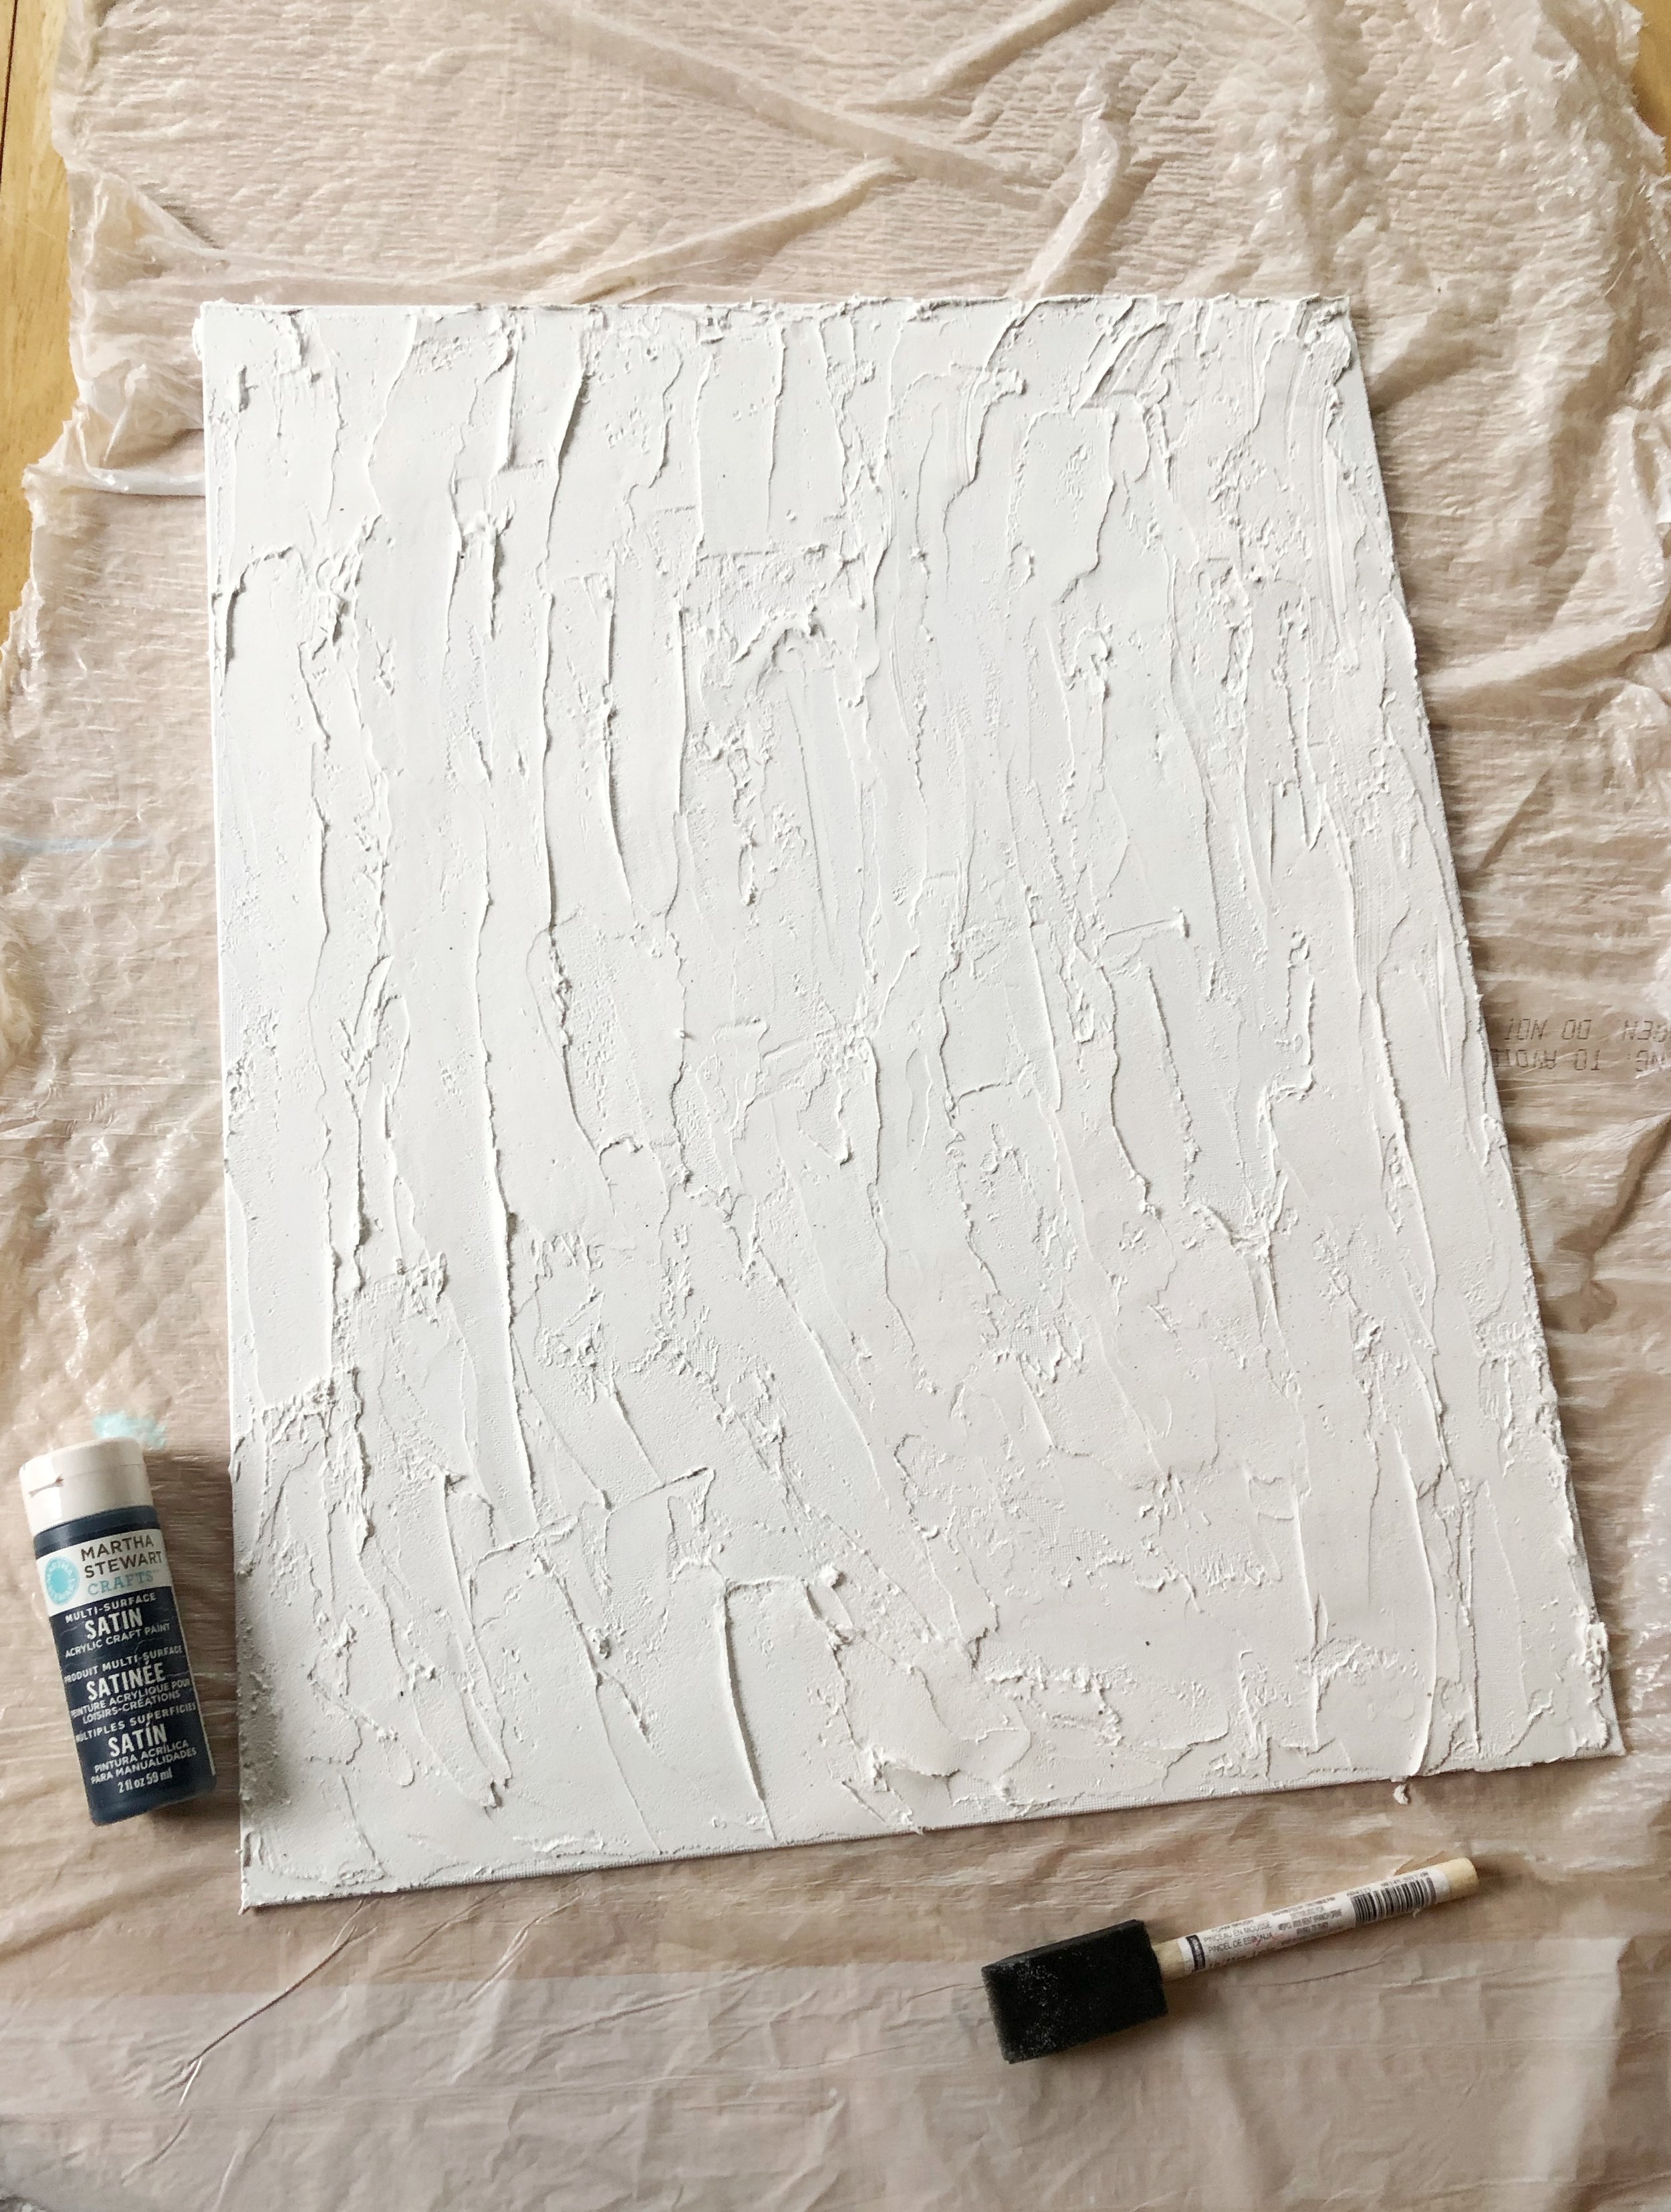
Start off by spreading the spackle around on the canvas. Don’t be afraid to load it up! I wanted mine to be really textured and detailed, so I used a small putty knife to get it on there and create lots of gorgeous texture. The nice thing about this is you can move the spackle around as much as you want to get it as smooth or textured as you want it to be - it doesn’t dry super fast so you have some time to play with it. I spent about 20 minutes on each board and then left them to dry for a couple hours.
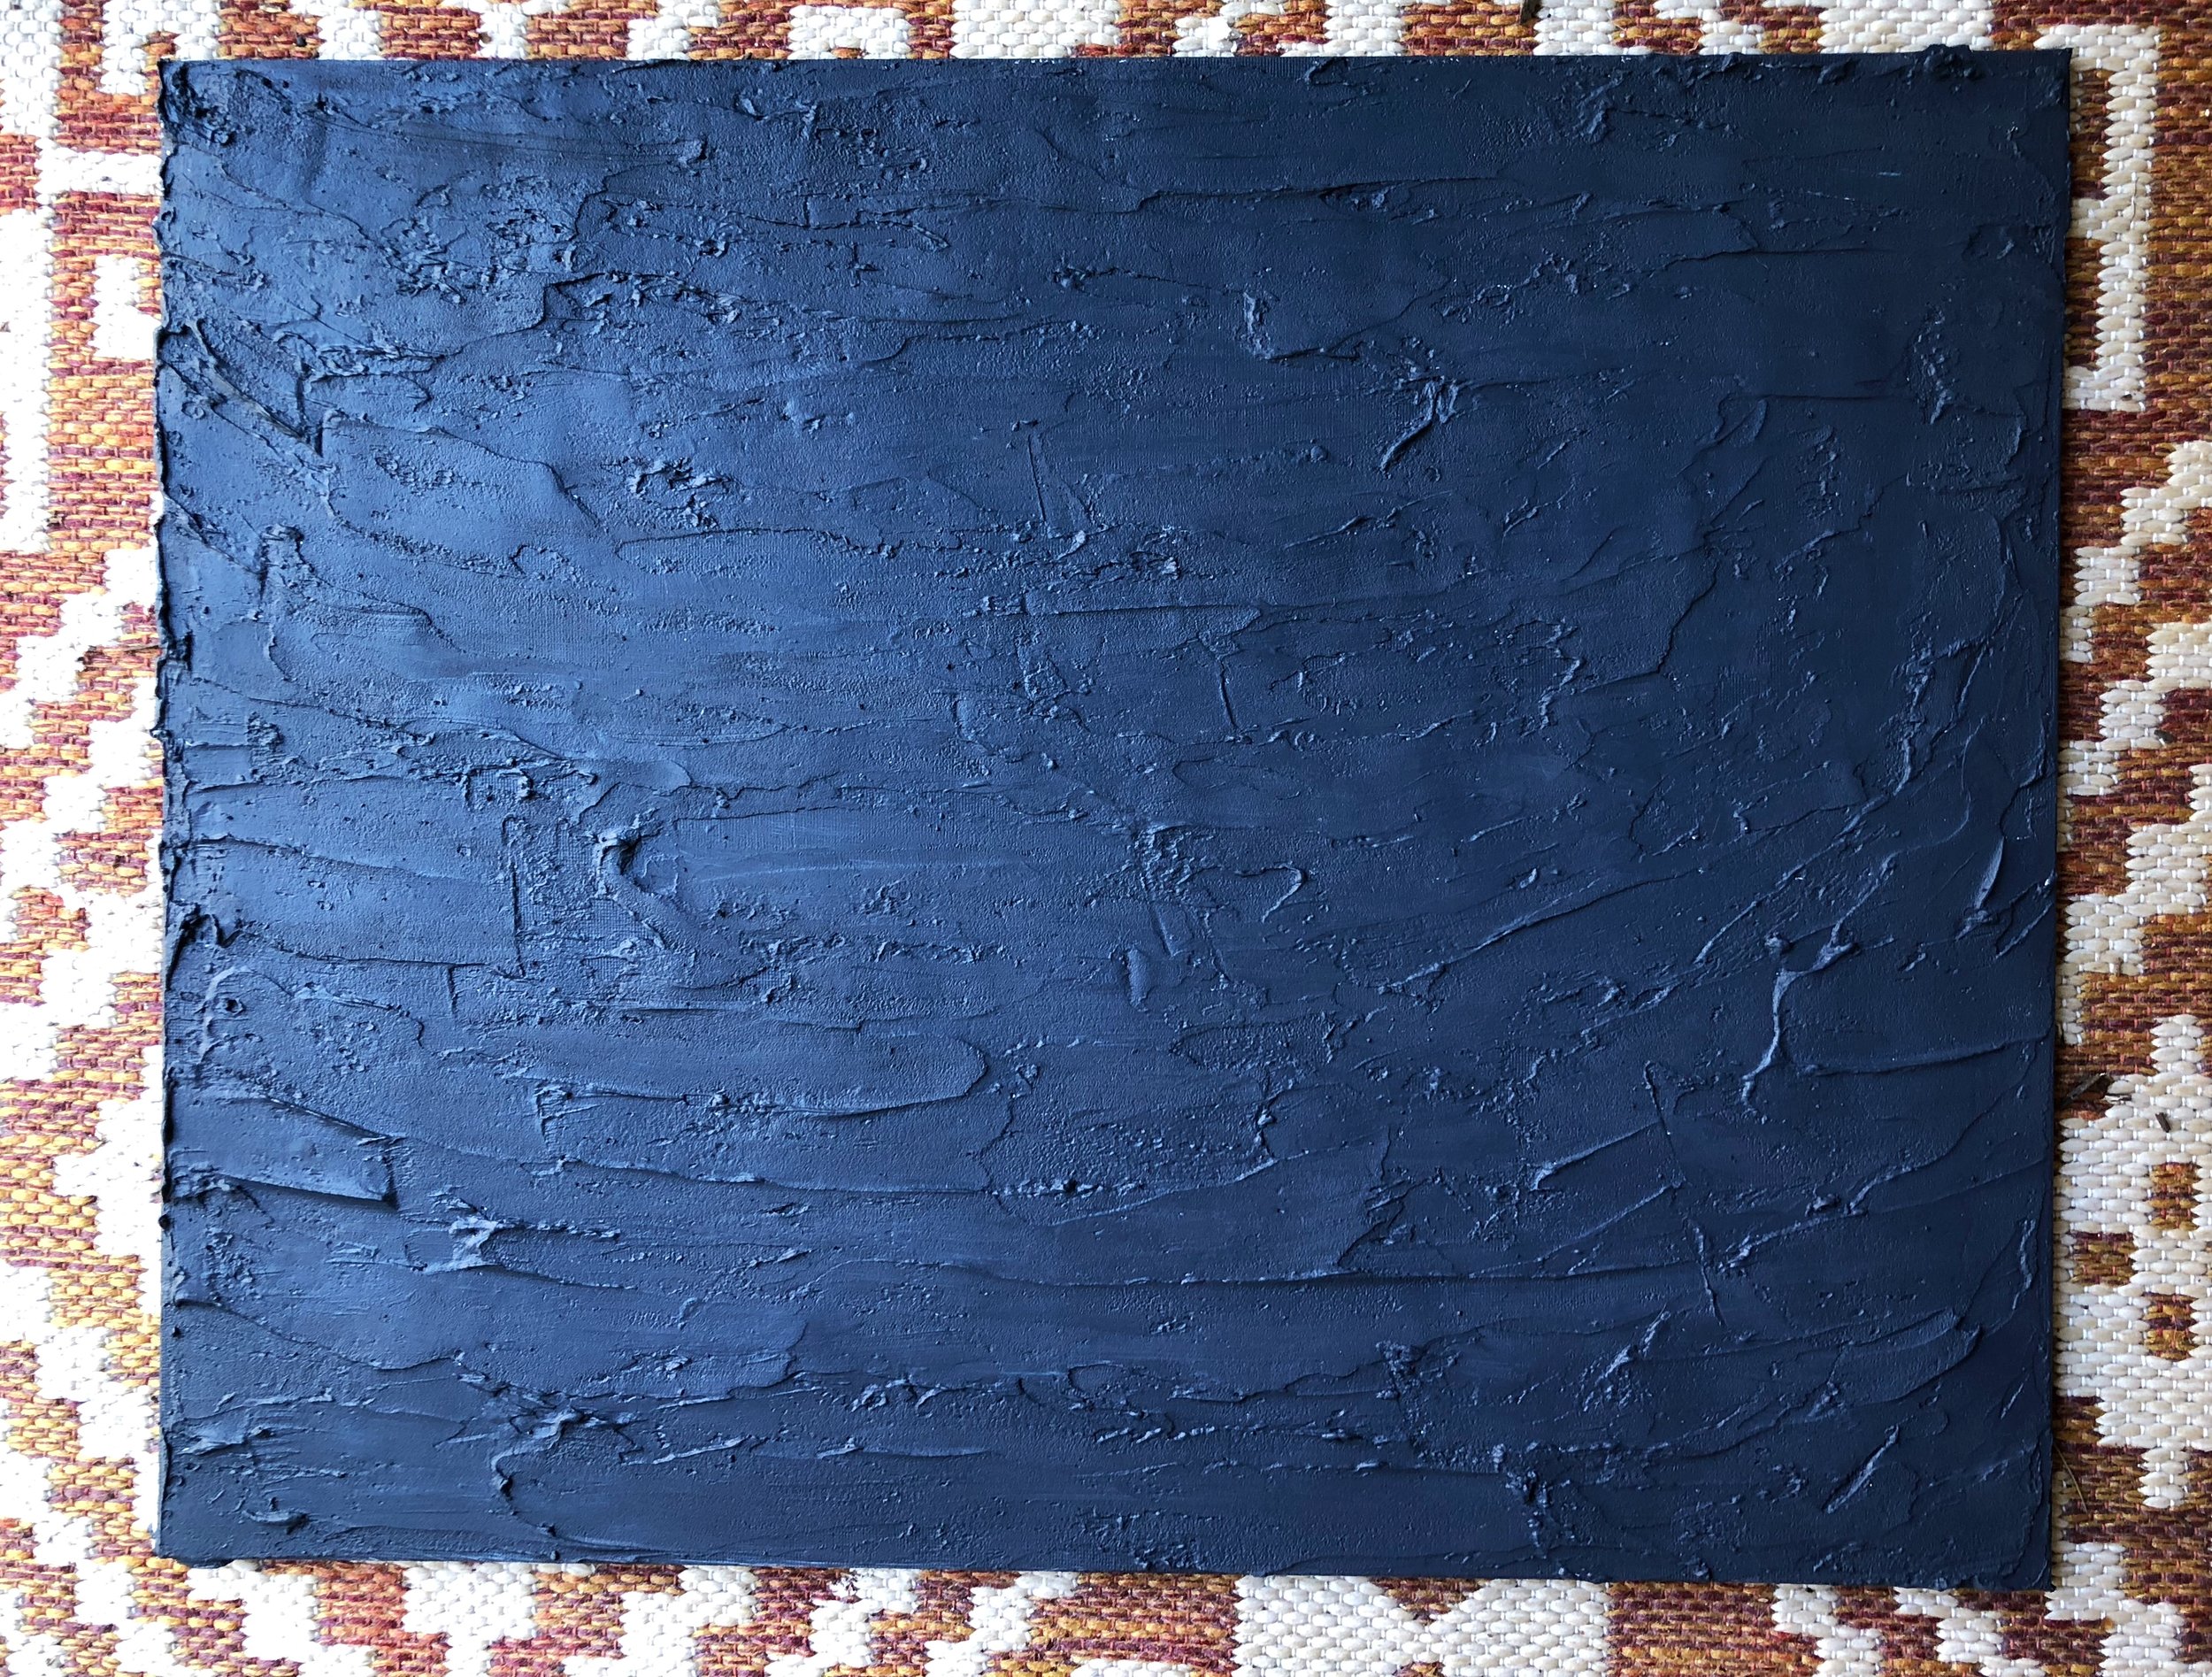
After they dried, I brought them inside to paint! I wanted one to be dark, so I chose a navy blue, and painted the other one white. Even though the spackle is also white, it’s important to paint it because it helps seal the spackle in and keep it from chipping. I painted a couple of coats, letting dry between, and then took them outside to seal them with Krylon matte spray as an added layer of protection! After they dried for about another hour, they were ready to use!

Fabric Styling Board Instructions
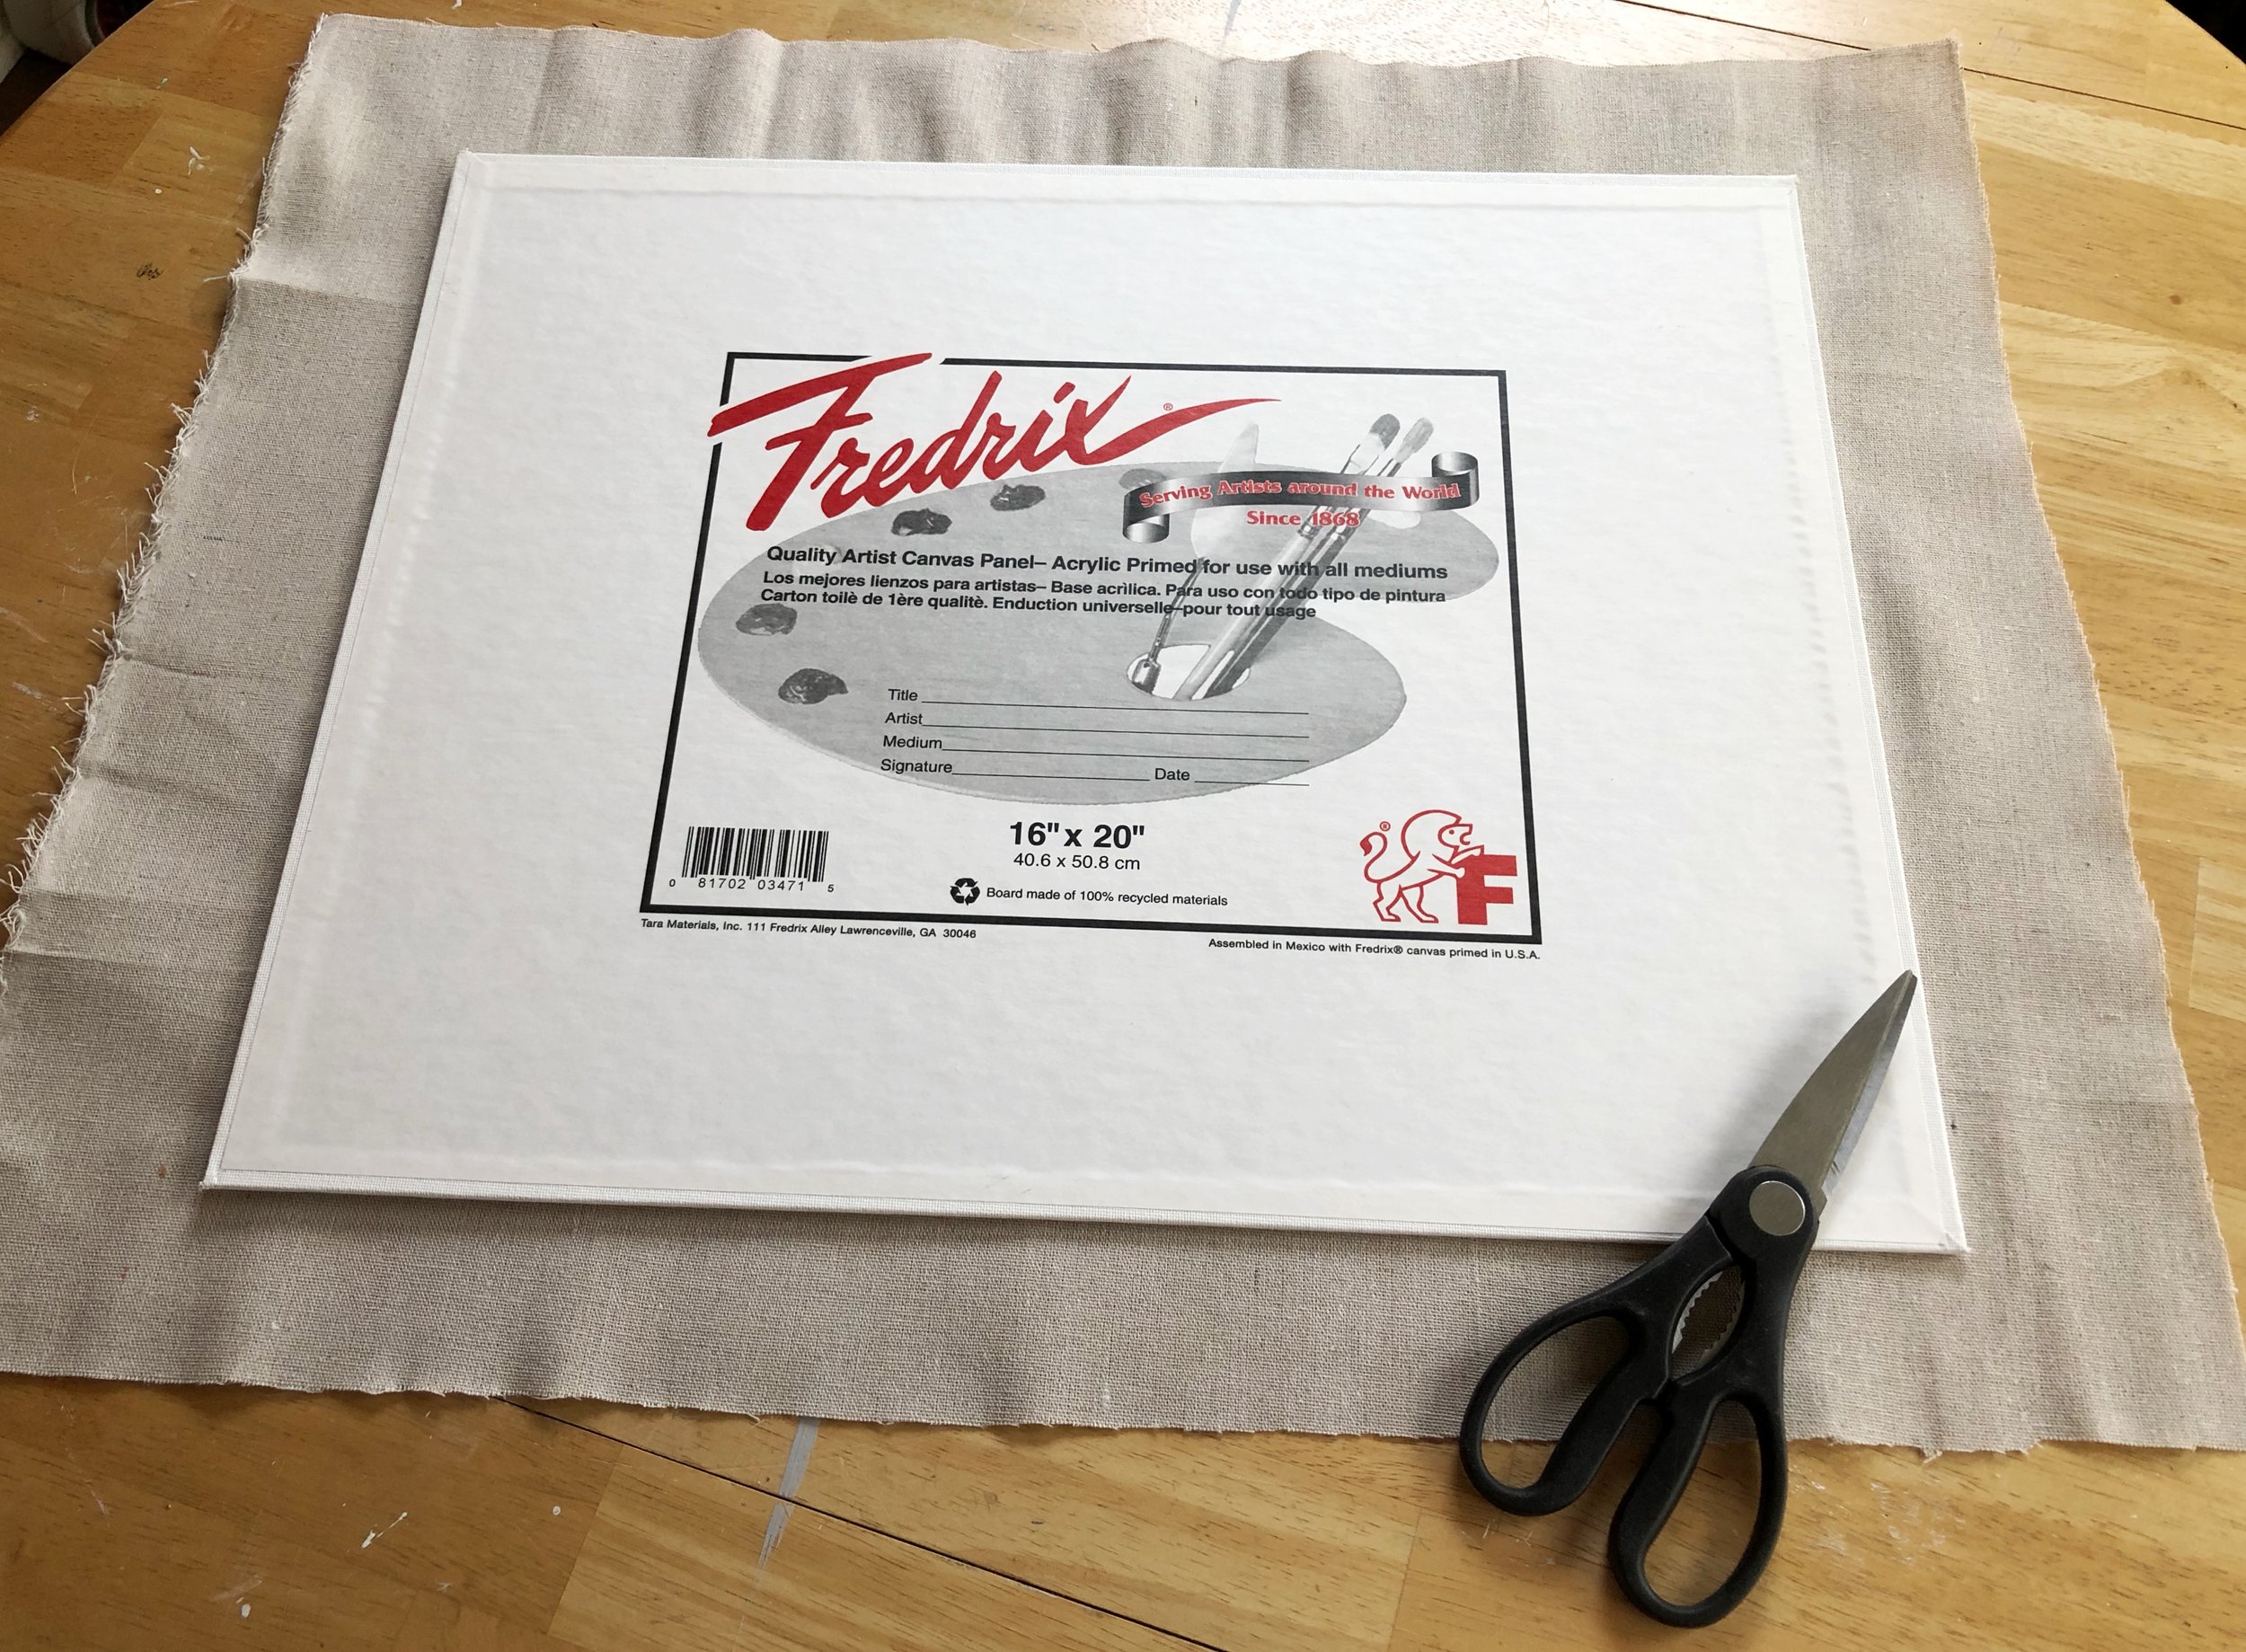
Now, for the fabric board, I got a yard of linen (also from Amazon) to adhere to my third canvas. Of course you can just use a piece of fabric as a background to a staged photo, but linen wrinkles so easily, I thought that it would be much easier to have it stretched across a canvas so it can’t wrinkle.
These are the supplies I used:
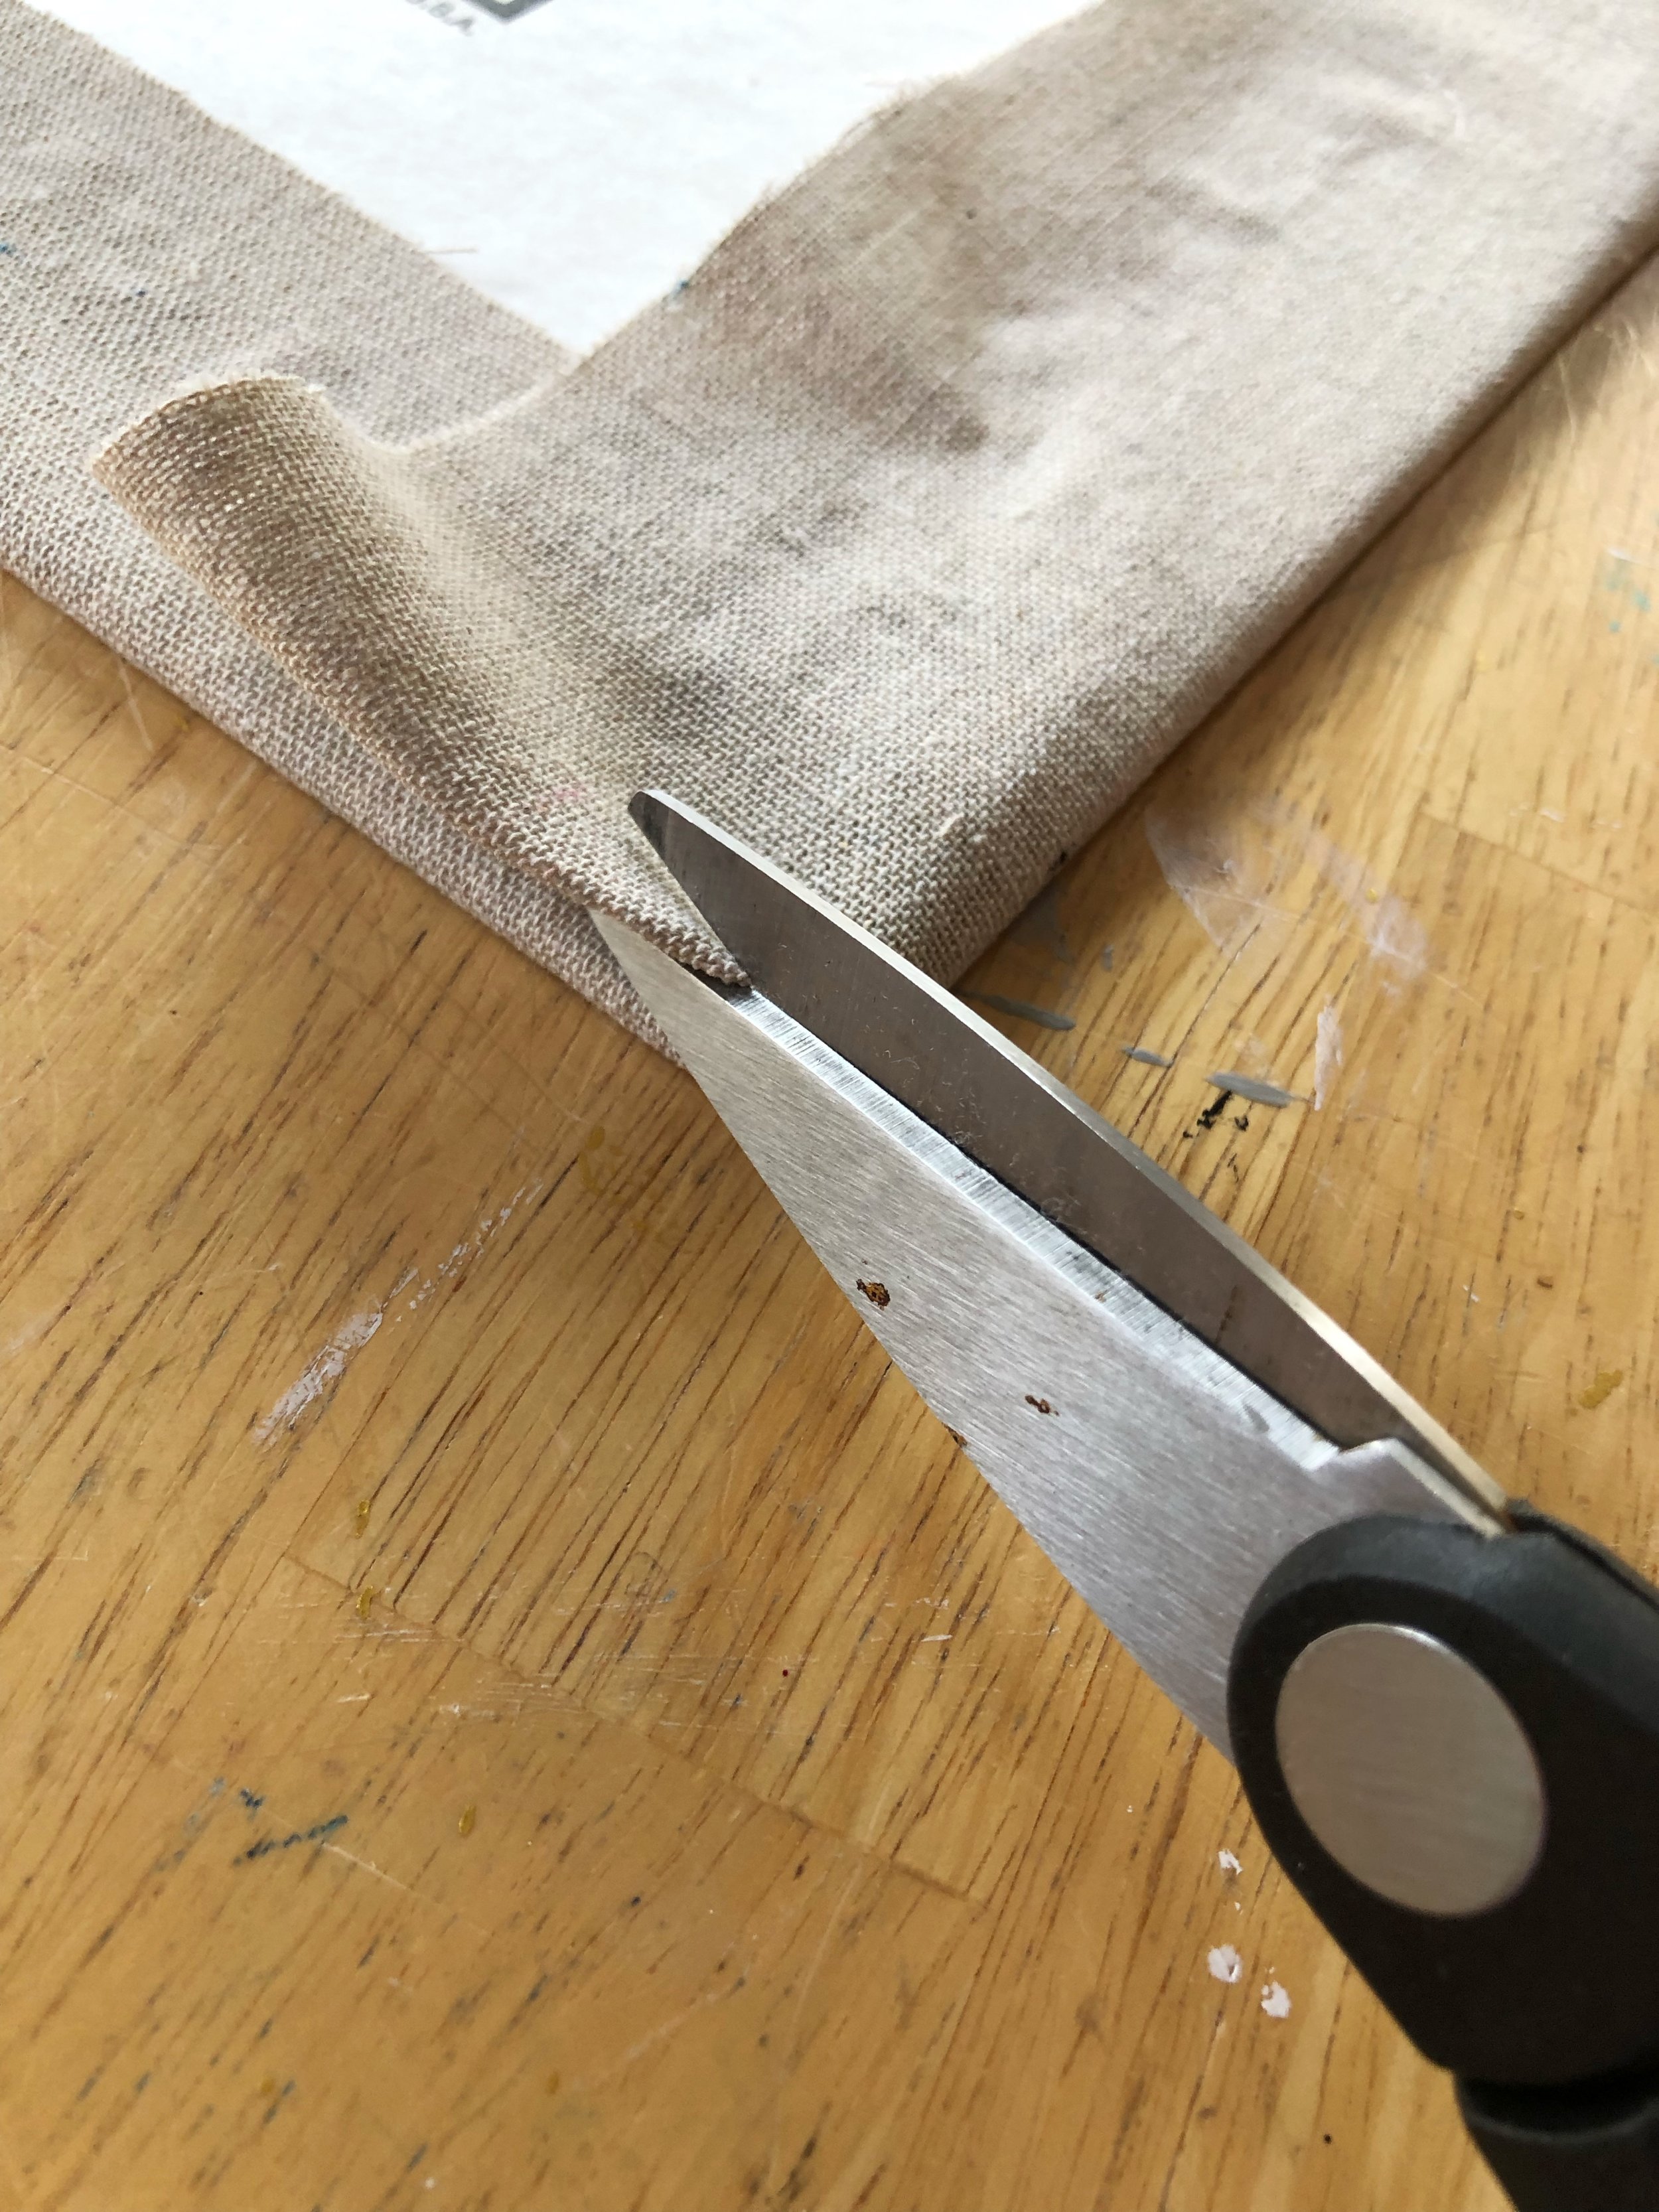
The linen was pretty wrinkly when I took it out of the package, so I ironed it before I cut it to size. I just laid the canvas on the linen and cut around it, leaving a generous border. After that, I simply glued the edges of the linen around the back of the canvas, making sure to pull it taught so that the front of it was smooth. It was really easy! Since I didn’t cut it super precisely, I ended up with a little extra hanging off the corners, which I just cut off and put a little glue over to hold it in place. I think the finished product turned out great!

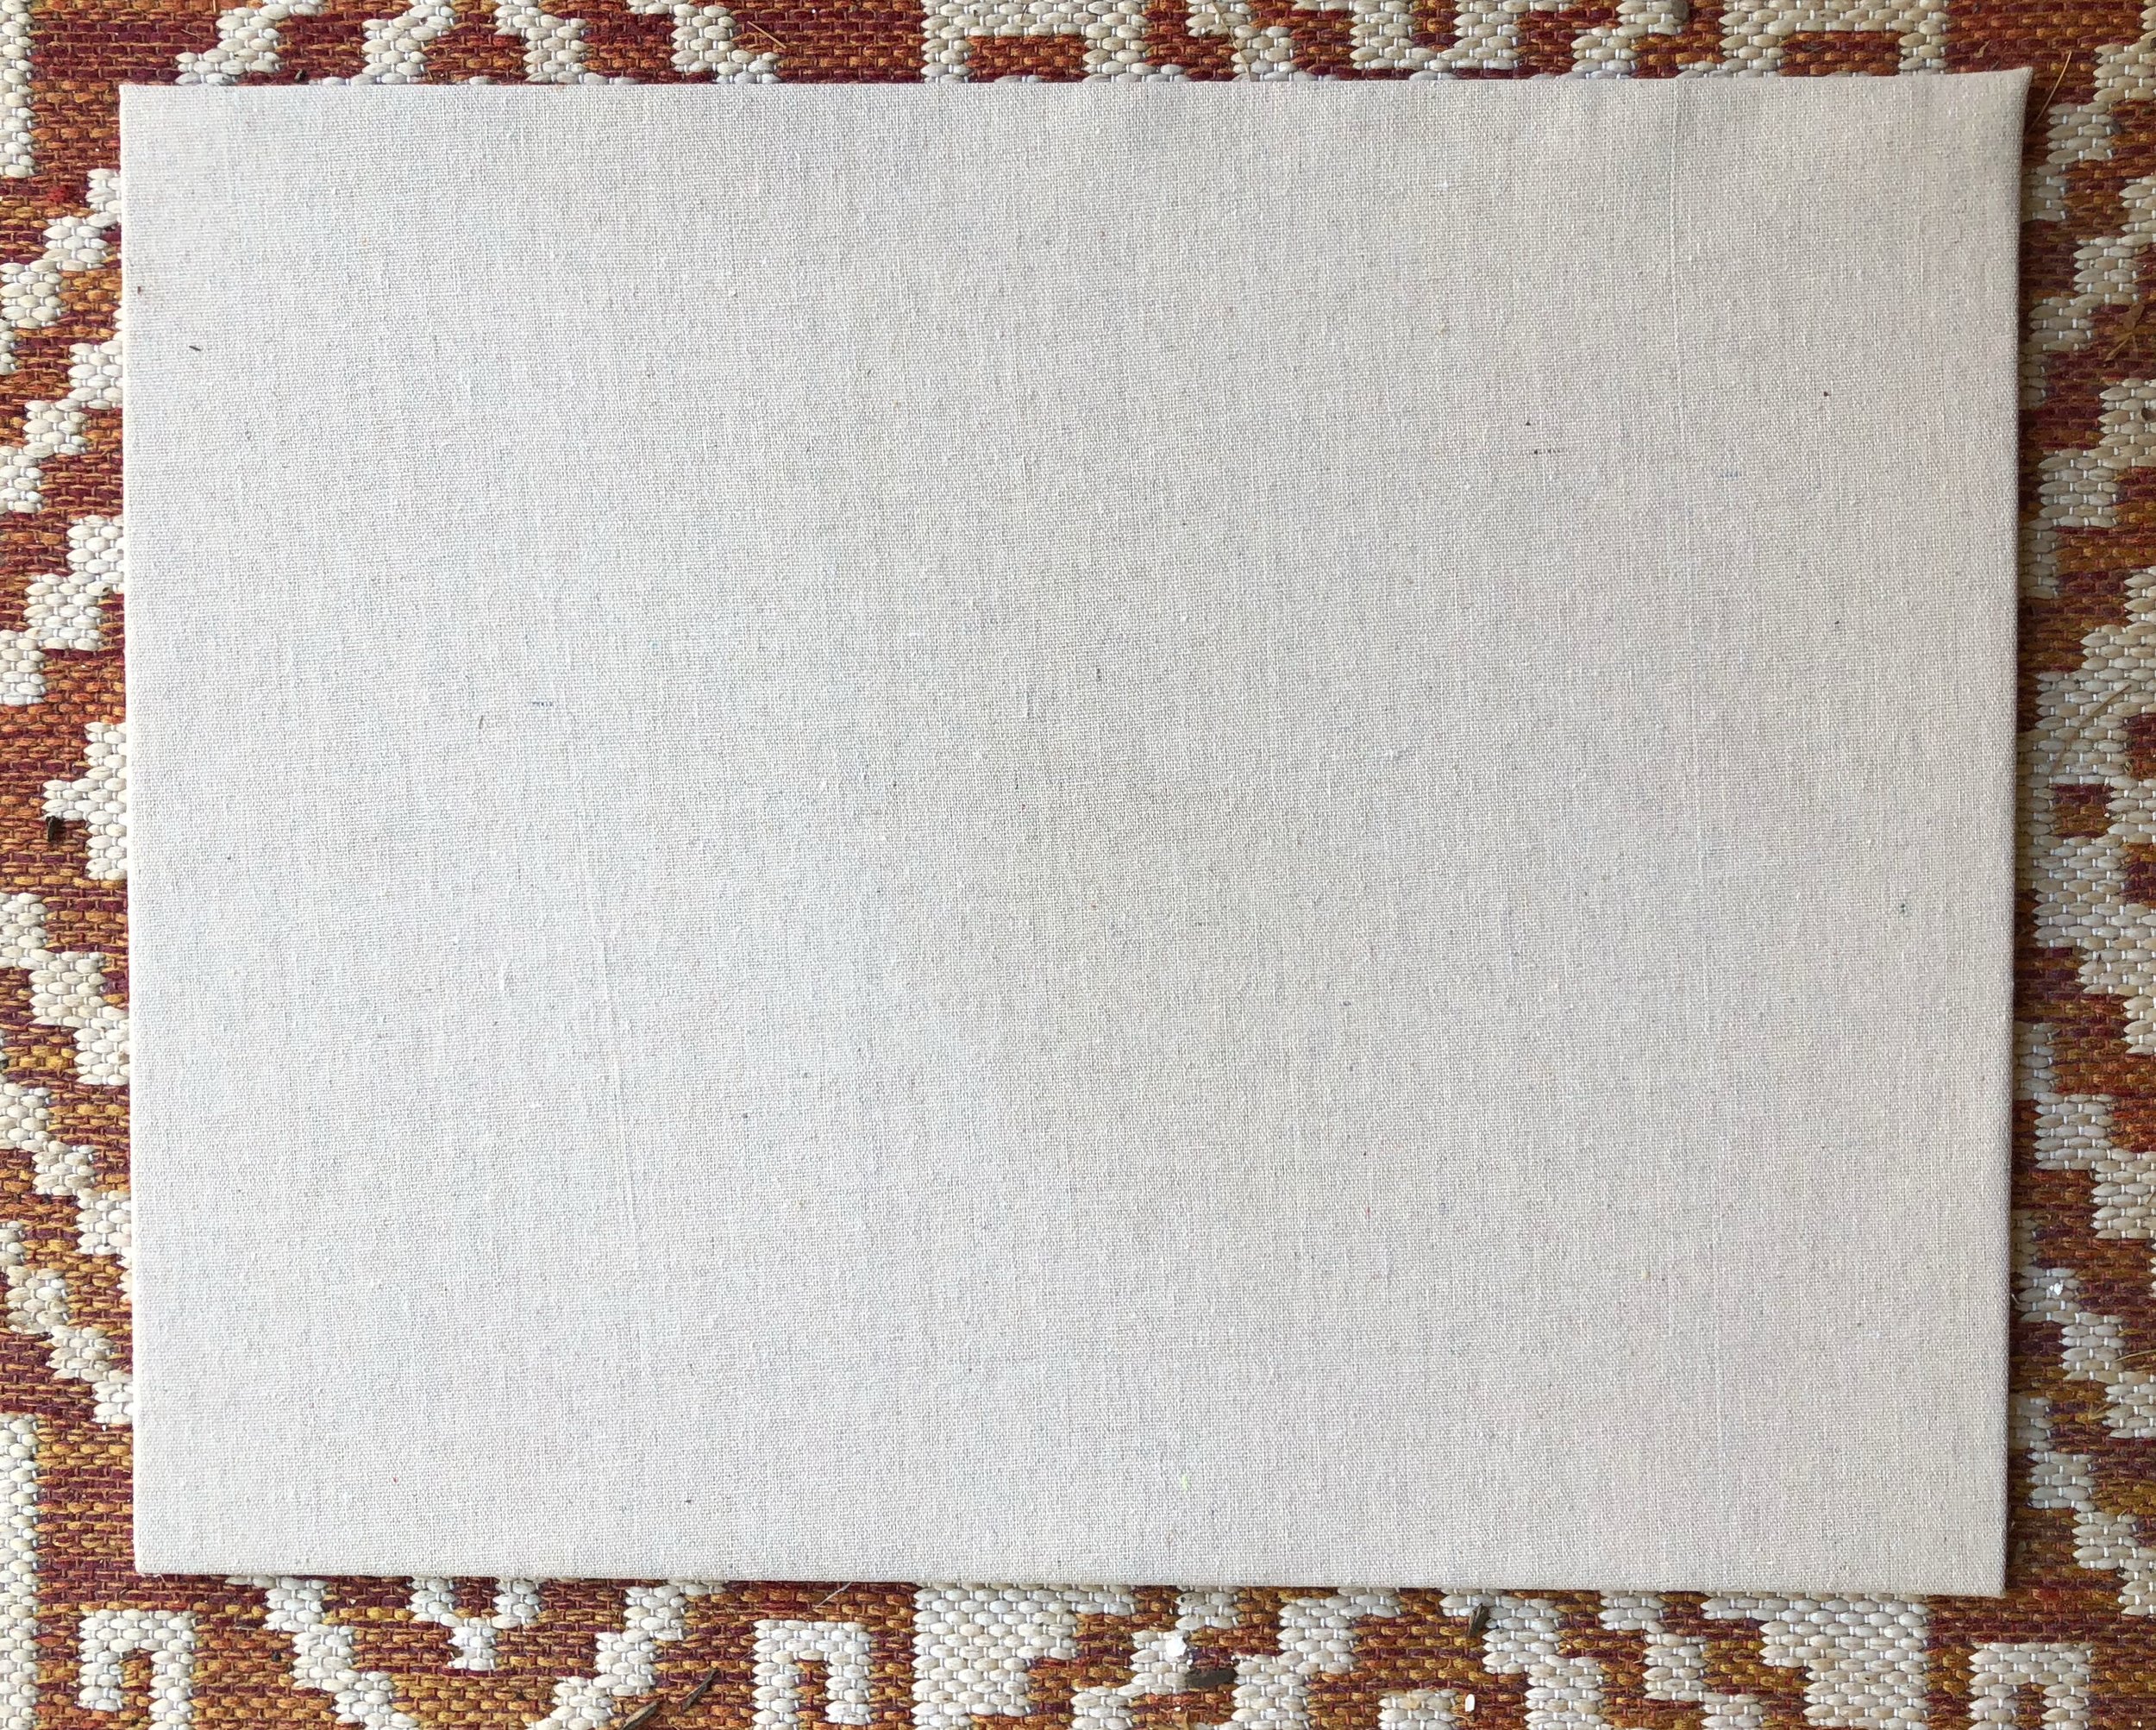
I think these are a really great and inexpensive way to create consistent backgrounds. I love that I can move these around near the window or outside to get the best light possible and that they don’t take up much space to store! And since I already had the paint, putty knife, sealer and glue gun, I only spent $29 to make 3 of these. For as much as I’m going to use these, you can’t beat that! Pretty excited to take lots of new flat lay shots with these babies!


Let me know what you think!


