Learn Calligraphy: The Basics
/Want to learn calligraphy? Let’s start with the basics!
Styles of Calligraphy
There are many different styles of traditional calligraphy; Copperplate and Spencerian are a couple of well-known traditional styles you may have seen. These are formal scripts that are written with precise strokes. I do modern calligraphy, which encompasses pretty much everything that isn’t traditional calligraphy. It is still clearly calligraphy, but it doesn’t really have hard and fast rules - there’s a lot of freedom to create your own personal style.
What’s the difference between calligraphy and hand lettering?
Calligraphy is done with a nib and ink. Hand lettering is when you draw the letters and you can use markers, pens, chalk, paint or other mediums to create it. Both calligraphy and hand lettering use thick downstrokes and thin upstrokes to form the letters. Thick downstrokes and light, thin upstrokes are what give calligraphy that special look and what differentiates it from nice cursive!
What do you need to start?
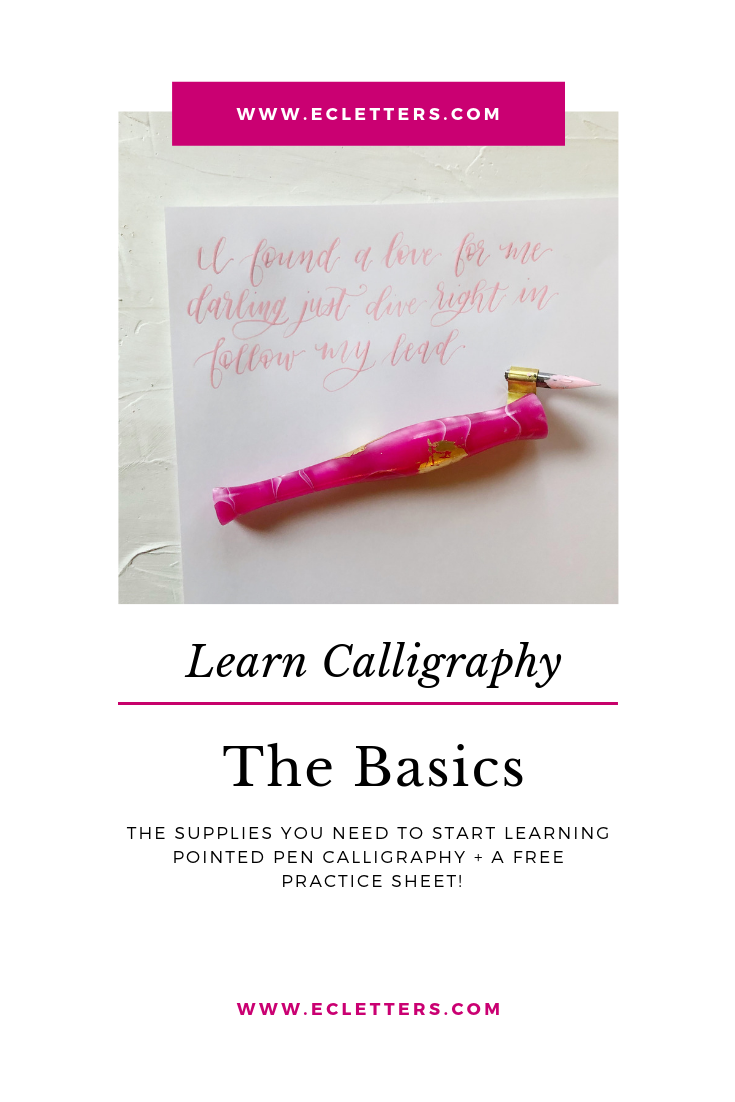
Now, to get started, you’re going to need a few supplies. First thing’s first: a notepad to practice in. I recommend using a Rhodia notepad. The paper is smooth and won’t catch your nib while you’re writing, and it’s a great weight; the ink won’t bleed into the paper. This one has a graph background, which is perfect for helping you make your letters a consistent size while you are learning.
You’ll also need a nib and a nib holder. The Nikko G nib is my absolute favorite nib to use and it is very beginner-friendly.
For your nib holder, there are two options: straight or oblique. A straight pen is like a regular pen where the nib comes right out of the end. An oblique pen has a flange that holds the nib at an angle, which helps to create the angled look that a lot of calligraphy has. Different people have different opinions on which is better to start with, but I started out with a straight pen - I recommend this one specifically!
Finally, in order to write, you’ll need ink! Sumi ink is a staple that can be used with pretty much every project. You can pour it into a small container in order to dip your nib into it; something like this little container would be perfect!
Let’s Get Started!
The first thing you’ll need to do is prep your nib. All nibs have a small amount of manufacturing oil on them - remove it by rinsing with some soap and water. Then, stick the nib in your holder. It shouldn’t wiggle. Make sure you have a cup of water and a cloth to wipe the nib with between words, and you’ll be all set. Dip your nib into the ink, just past the hole on the nib and give it a tiny little shake to remove any excess. You’re ready to write!
What Should I Practice Writing?
The very first thing you’ll want to get the hang of is a thick downstroke vs. a thin upstroke. Once you get the hang of that, which may not take long, you’ll want to get started on letters! Download the free printable practice sheet below to start on your lowercase alphabet!
CLICK HERE TO DOWNLOAD THE FREE PRACTICE SHEET!

Video Tutorial
If you’re a visual learner, like me, check out this short video. Click through the steps to see how to get started and how to create thick downstrokes and thin upstrokes. It is all about pressure! Apply pressure as you move the pen down, and ease up on the pressure when you move the pen up.
Have questions? Feel free to reach out! Happy lettering!
Disclaimer: If you purchase the products linked in this post, I will receive a small commission at no additional cost to you.